Modeling In-Place Components
Files you'll need to complete this Lesson
In this lesson we will create a dining table using Revit's model in place tools by creating simple extrusions.
Getting Started
Make sure you have the source files downloaded for this exercise. You can get them with the links above.
Create an In-Place Dining Room Table
- Open the Revit file:
Lab05_E1_Modeling InPlace.rvt - Open the
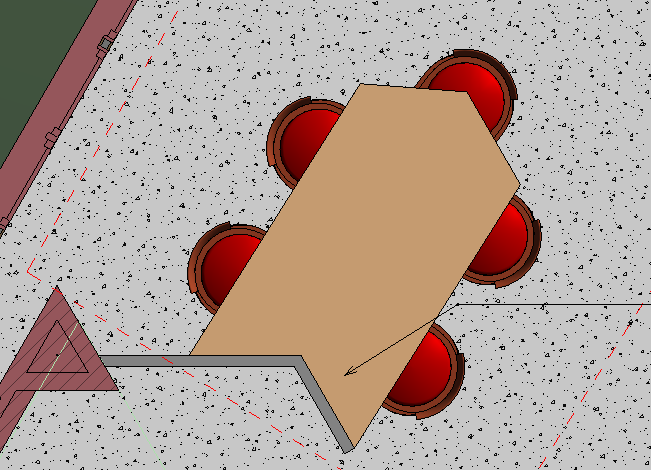
Floor Plan - Dining Areaplan view and note the dashed boundary where the dining table will roughly be created. - See below what the final table and chair layout will be like:
Create Table Top
- Let's start by creating the top of the dining table. On the Architecture Tab click on the little arrow below
Componentto select theModel In-Placebutton.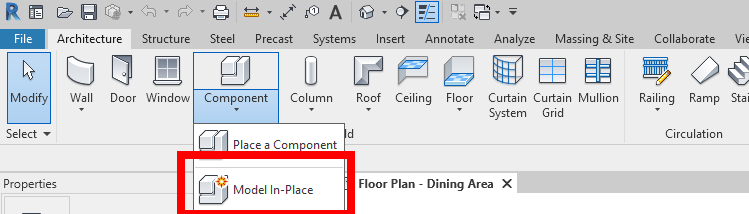
- Choose the Family Category:
Caseworkand clickOK - Name the family
DiningRm Table - On the Create tab click on the
Extrusionstool.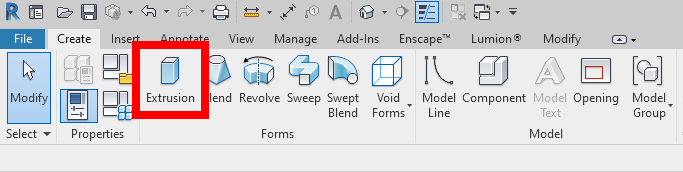
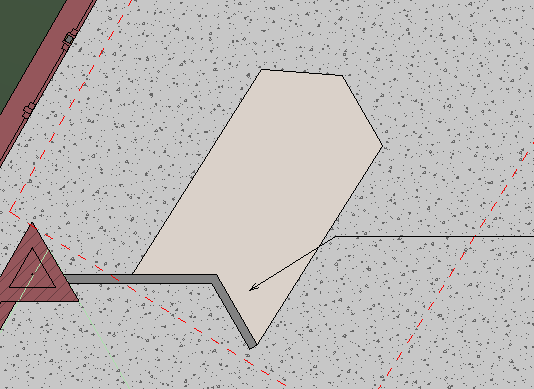
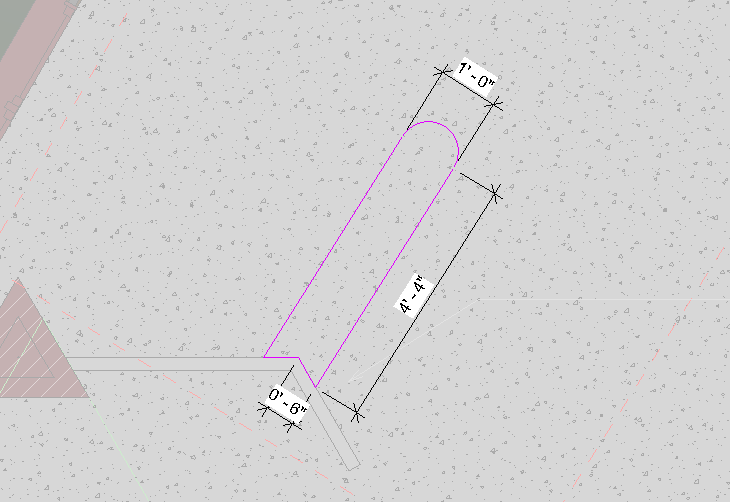
- Use the line tool to draw the following lines. Start from the wall corner and draw to the end of the shorter wall. Then draw a
6' 0"line parallel to the exterior wall then draw a similar line to the first to finish half of the table off (You can Copy paste and move it if that's easier).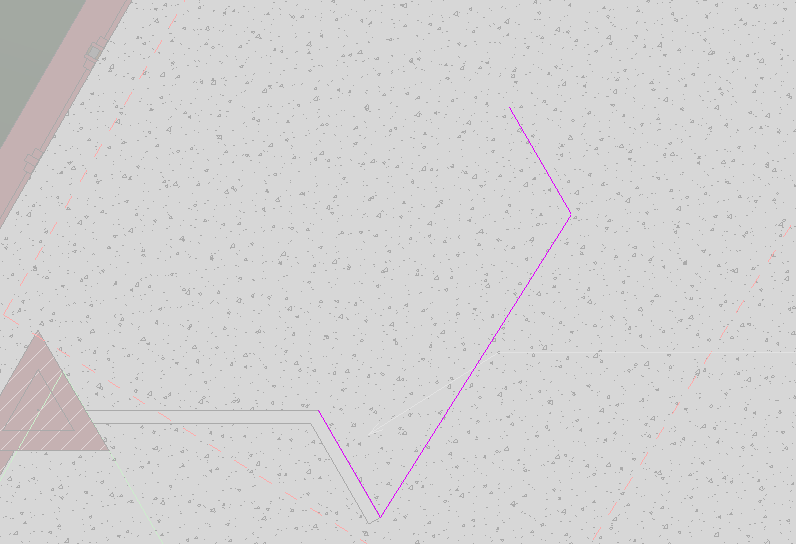
- Select the first 3 lines and mirror them with the
Mirror - Draw Axistool (Draw a line from point 1 to point 2). Note that the left corner of the table is a bit off: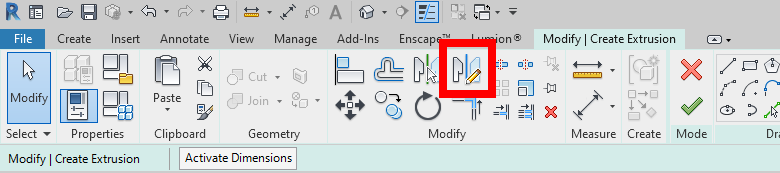
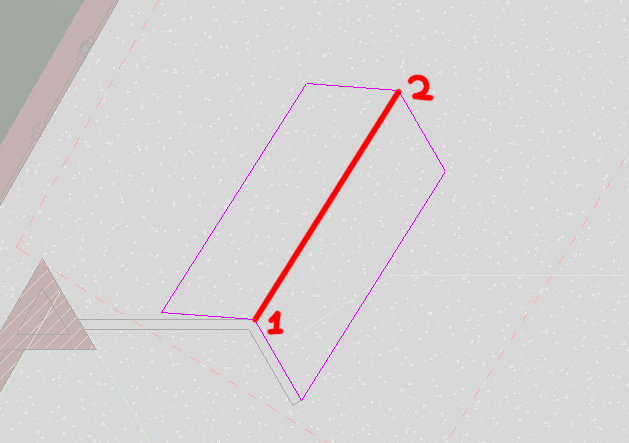
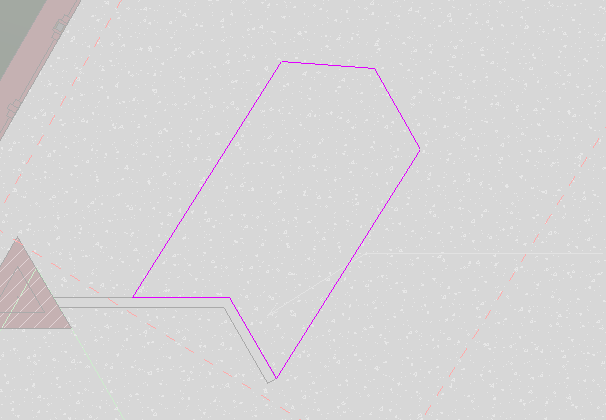
- Click on the off lines and move their vertices to connect with the wall better.
- In the properties palette set the
Extrusion Endto2' 8"and set theExtrusion Startto2' 4"this will create a 4" thick table with the bottom of the table 2' 4" off the ground.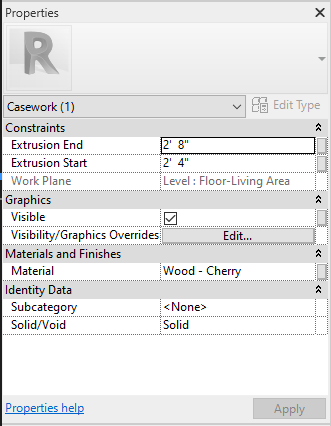
- Click on the green checkmark to confirm the extrusion.
- Click on the next green checkmark to finish the model.
- See finished table top
Create Table Base
We will be editing the previous model and adding an extrusion to it instead of creating a whole new component. When you are creating components in the future you don't need to finish the model before moving on to adding a new component. It's just easier for us to break this up into sections like this.
- Click on your table-top and then click on the
Edit In-Placebutton.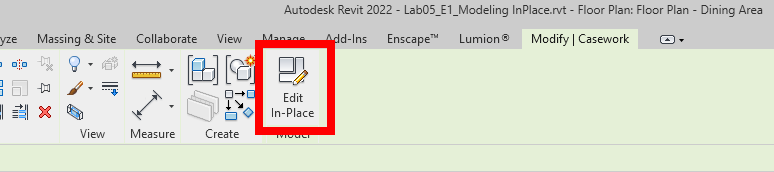
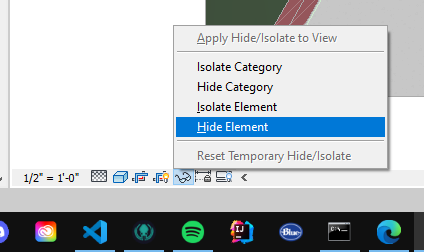
- Click on your table top and temporarily hide it with the sunglasses button at the bottom of the screen.
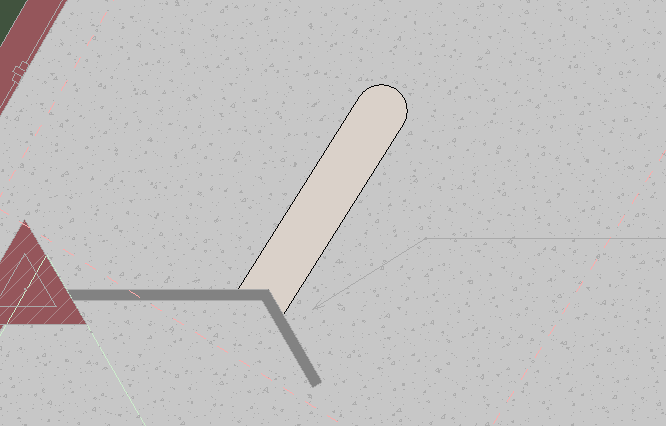
- Use the steps learned before to create the base as shown:
- In the properties palette set the
Extrusion Endto2' 4"and set theExtrusion Startto0' 0"like before this will create a base that starts on the ground and ends at the bottom of the table. - Accept your changes with the green checkbox and see base below:
- Reset the temporary hide/isolate by clicking on the same sunglasses icon as before.
Apply Material to Components
- Ender Edit In-Place mode on your component if you aren't already.
- Select both the table top and base components and then click on the browse button next to your material selection in the properties palette.
- In the Material Browser search for and select the
Wood - Cherrymaterial. Then PressOK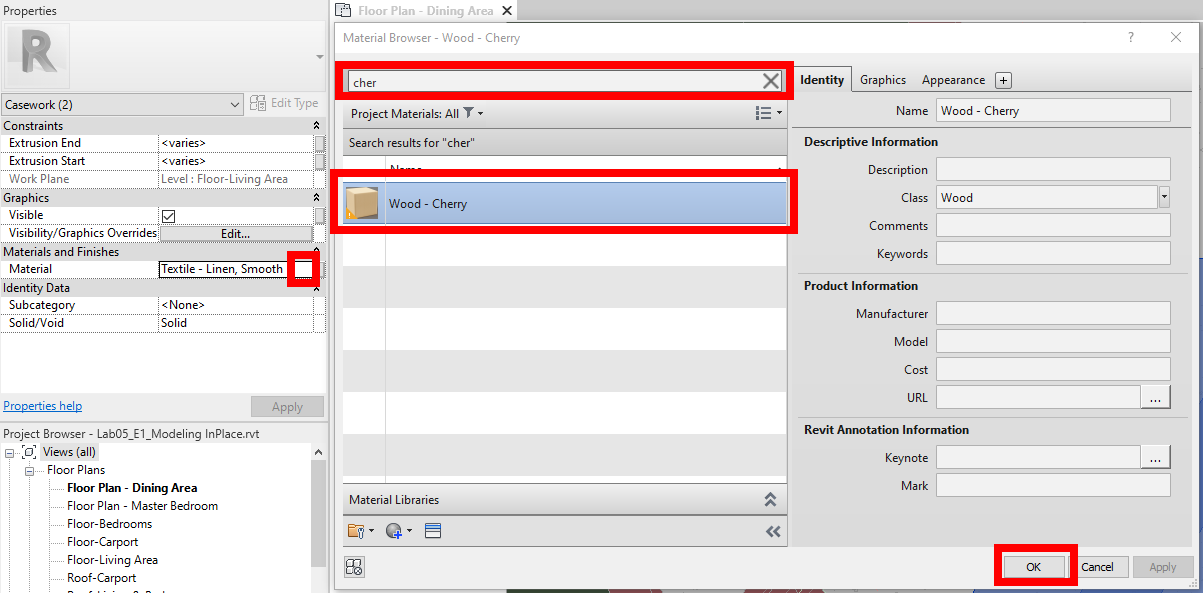
- Open the
3D View of Dining Area3D View and confirm finished table component below: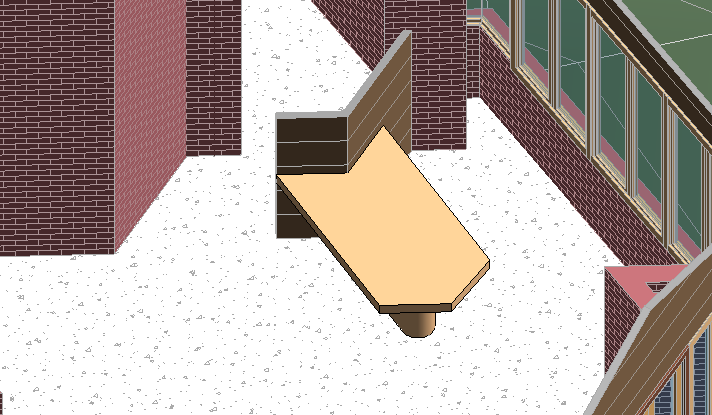
Place Chairs Around the Table
- Open the
3D View of Dining Area3D View. (Placing objects in the 3D View is much easier, if we do this from the plan view they place sideways which is really annoying) - On the architecture tab click on the component tool.
- Select the component
Barrel_Chair_by_Frank_Lloyd_Wright_9268[1].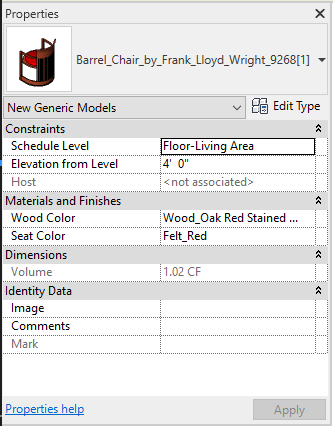
- Place one of these somewhere on the floor, we will move and copy it in the floor plan view.
- Open the
Floor Plan - Dining Areaplan view. - To copy a component really quickly; click on the component, then hold
Ctrland drag the chair to a secondary location. Do this for all 5 chairs.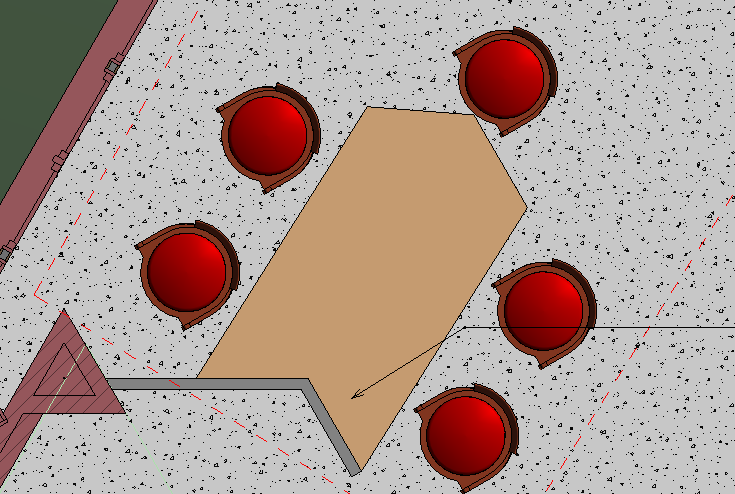
- Click on a chair and use the rotate tool to make it face the table. Do this for all 5 chairs.
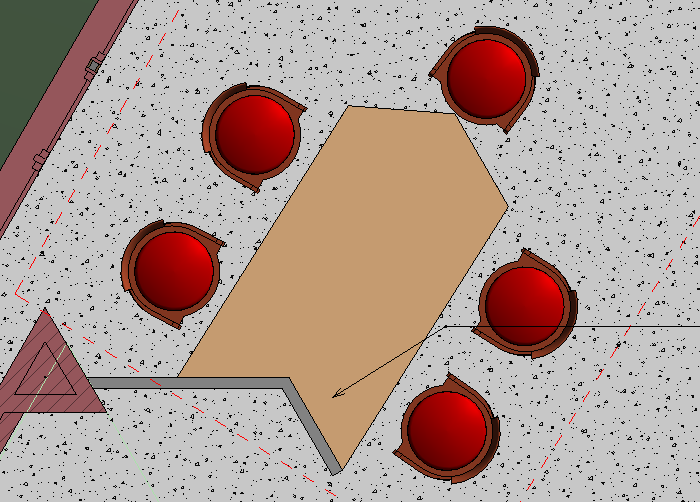
- Use the move tool to push in the chairs.
Make a Bed
Okay that was a lot to take in, and finishing those things proves that you know how to follow step-by-step instructions. We're not going to let you off that easy though, so lets use this knowledge to model a bed with a headboard!
- Open the
Floor Plan - Master Bedroomplan view and note the boundary for where the bed should be placed.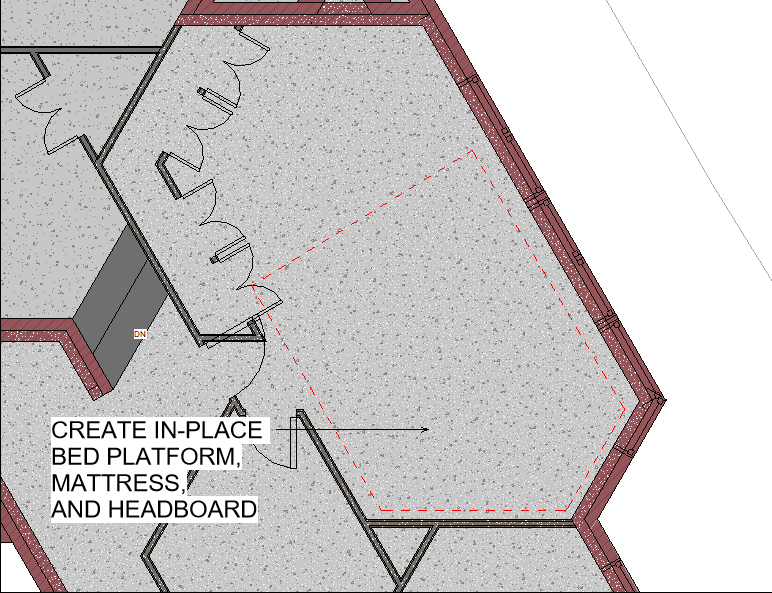
- Use the concepts from before to model a
Queen Sizedbed, you can find dimensions online very easily for this. - See final Result below. Hint: the holes can be made with
Void Extrusions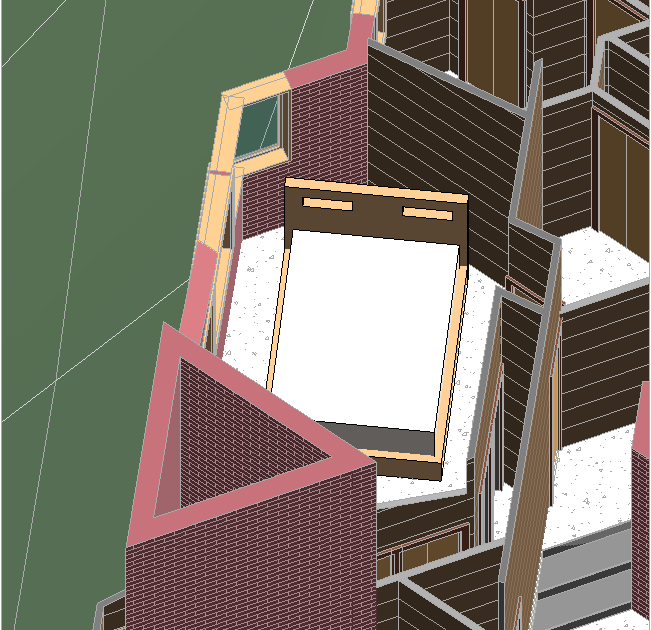
Save your file
Save your file as Spring2024_3262_firstinitial_lastname_LAB05_EX01.rvt