
Modeling Walls
Files you'll need to complete this Lesson
In this lesson you will learn how to model interior and exterior walls by using an AutoCad drawing underlay as a guide.
Getting Started
Make sure you have the source files downloaded for this exercise. You can get them with the links above.
Create Exterior Walls
- Open the Revit file:
Lab01_E1_Modeling Exterior and Interior Walls.rvt - Open the
Ground Floorplan view on the left side of the screen - On the
ArchitectureTab, click theWallbutton. - In the Properties Palette, select the wall type
Generic 8". - Change the
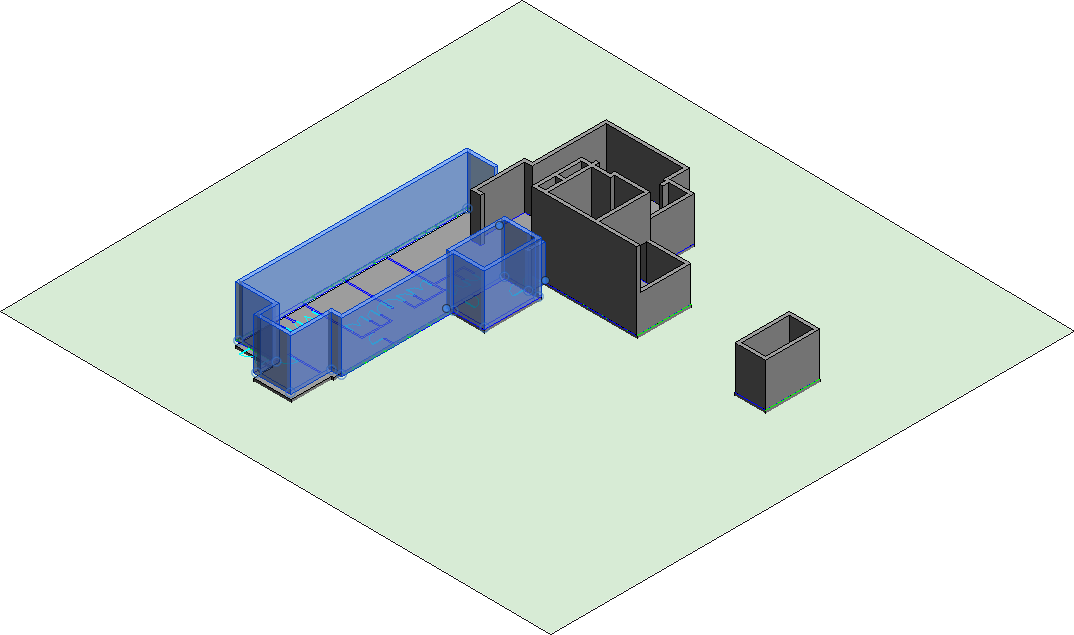
Location Linedropdown to readFinish Face: Exterior - Trace the outer edge of the walls shown on the underlay drawing to complete the building's exterior walls
If the wall is being drawn on the wrong side you can press the space bar to flip it.
Once completed your building should look like this in the 3D View (Roofs Hidden) View (new walls selected):
Create Interior Walls
- Change your selected wall type to
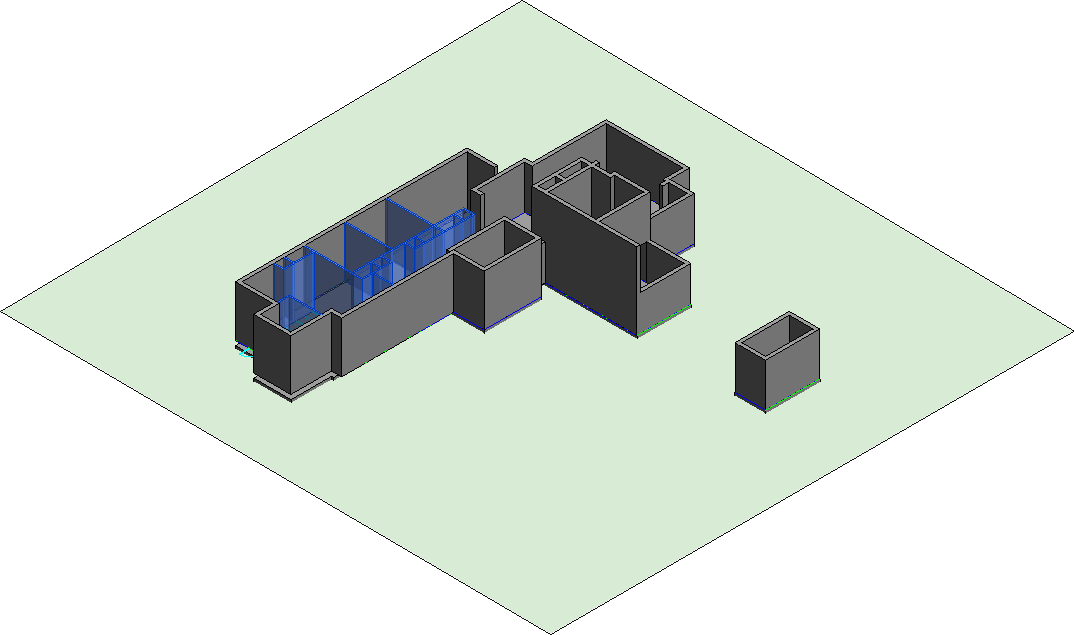
Interior - 3 1/8" Partition (1-hr) - Trace the remaining underlay wall lines on the interior using the 3" wall type.
Once completed your building should look like this (new walls selected):
Save your file
Save your file as Spring2024_3262_firstinitial_lastname_LAB01_EX01.rvt