Creating Elevation Views
Files you'll need to complete this Lesson
In this lesson we will place elevation tags to create new elevation views. We will modify view properties to adjust the crop region, level of detail, and scale. We will also set Visibility / Graphics overrides to choose which objects appear in views.
Getting Started
Make sure you have the source files downloaded for this exercise. You can get them with the links above.
Create an Interior Elevation in the Living Area
- Open the Revit file:
Lab06_E2_Creating Elevation and Section Views.rvt - Open the
First Floorplan view. - On the View tab click on the
Elevationbutton.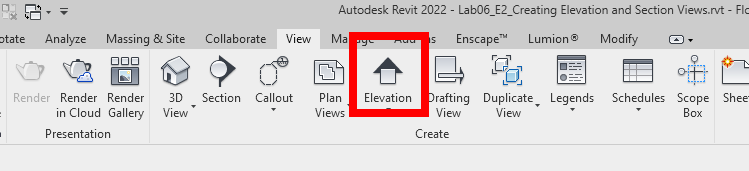
- In the Properties Palette select the
Interior Elevationtype.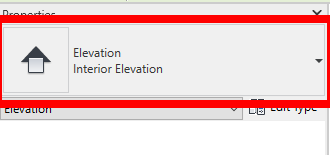
- Place the marker in the middle of the room as shown and then hit the
esckey twice to end the command.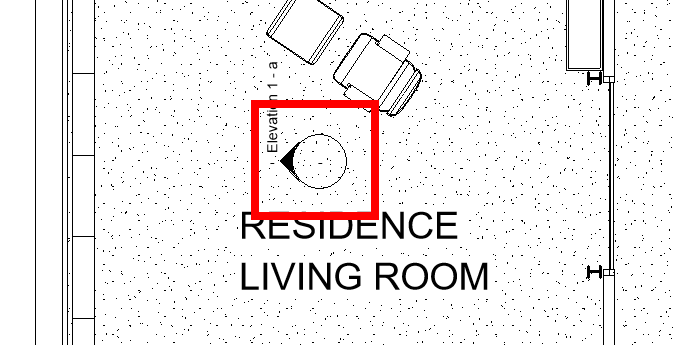
- Click on the marker and check all 4 of the checkboxes. Your elevation marker should look like below.
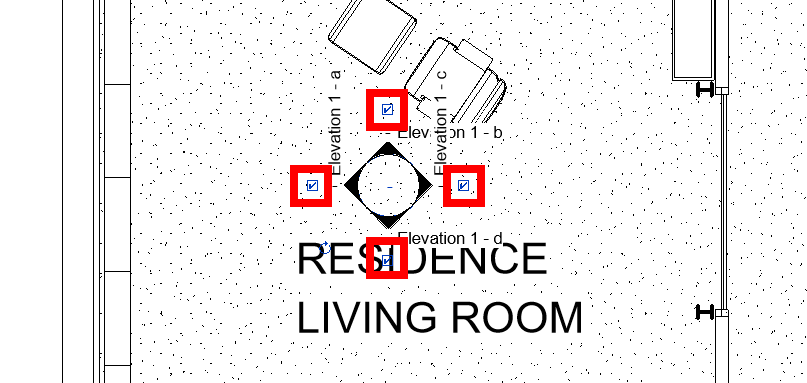
- This created 4 new elevation views, you can see them listed in the Project Browser. Rename each of the views to be more descriptive. Name them
Living Room Interior - North,Living Room Interior - East,Living Room Interior - South, andLiving Room Interior - West.
Create a View Template
- Open the
Living Room Interior - Westelevation view. We are going to change it's properties and then make a template to copy to the other elevation views. - In the Properties Palette set the
View Scaleto1/2" = 1'-0"then set theDetail LeveltoFine. ClickApplyto apply the changes. - Right Click on the
Living Room Interior - Westelevation view in the project browser. Then clickCreate View Template from View.... Name the viewInterior Elevationand clickOK. ClickOKagain since the settings will be inherited from the elevation you created it by. - To apply the view template to the other views, open one then scroll down to the bottom of the Properties Palette and set the
View Templateoption toInterior Elevation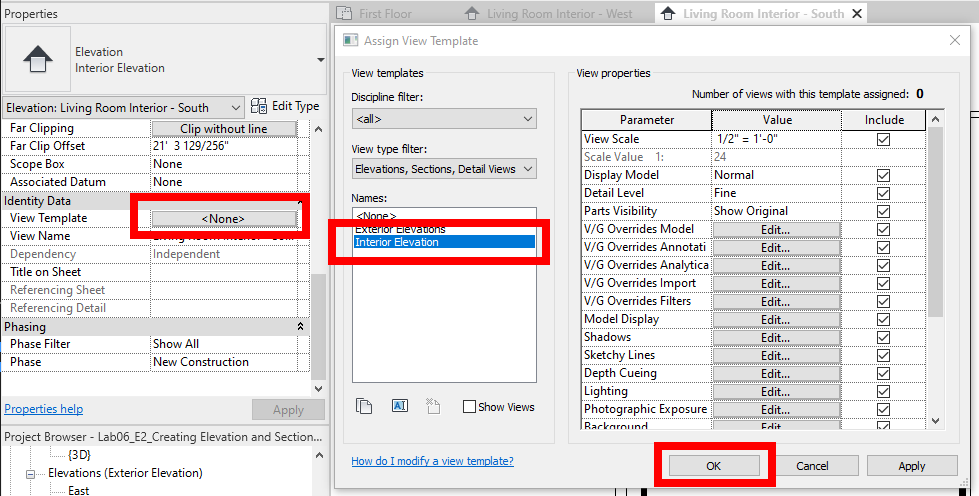
- Repeat step 4 until all elevations are using the
Interior Elevationview template. Note that even though we usedLiving Room Interior - Westto create the view template, that does not mean that it has it applied to it, you need to do this for all 4 elevations we created.
Edit View Range for North Elevation
- Open the
Living Room Interior - Northelevation view. Notice that the spiral staircase is only partially in view, let's fix that. - Open the
First Floorplan view. Click on the arrow on the north side of the elevation marker labeledLiving Room Interior - Northto see the crop extents.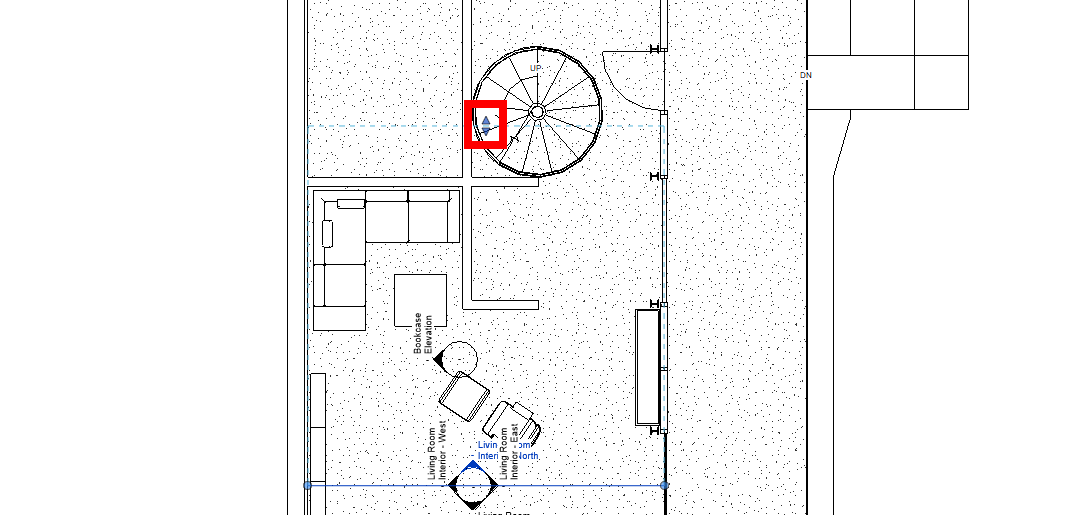
- Drag the blue arrows to move the crop region to beyond the spiral stair.
- Check the
Living Room Interior - Northelevation view to see that the stair is fully visible.
Save your file
Save your file as Spring2024_3262_firstinitial_lastname_LAB06_EX02.rvt