Modeling Roofs
Files you'll need to complete this Lesson
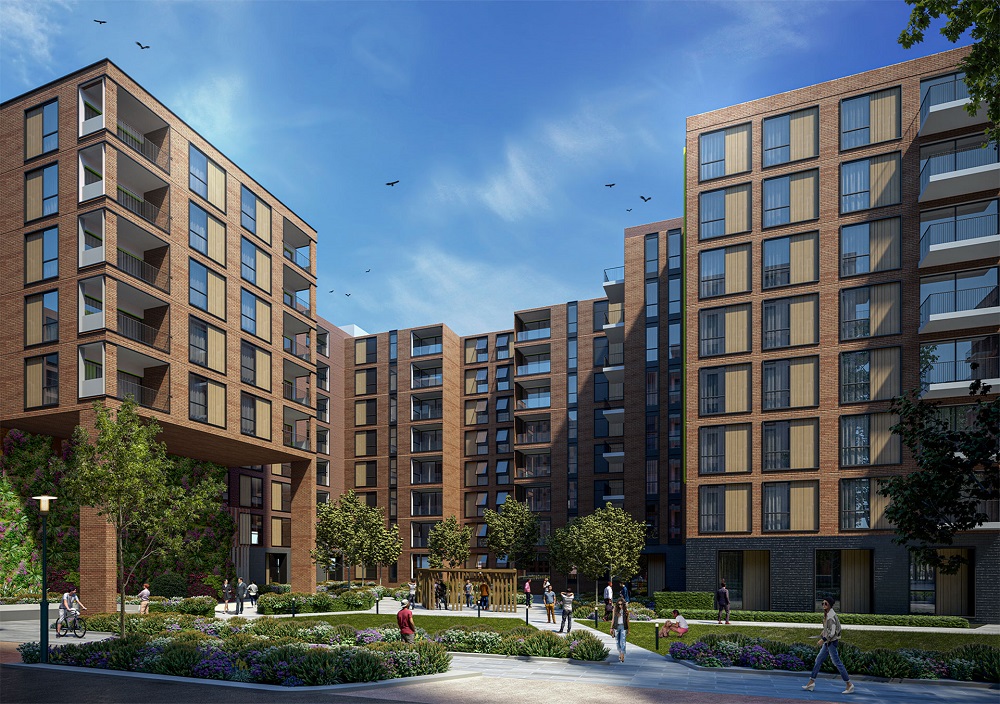
In this lesson you will learn how to create simple roofs for your revit models. We will be doing this based on building footprint, a sketch, and adjusting the properties of the roofs.
Getting Started
Make sure you have the source files downloaded for this exercise. You can get them with the links above.
Create A Flat Roof
- Open Revit File
Lab01_E3_Creating Roofs.rvt - Open the
Workspace Roofplan view. - On the Architecture Tab click on the little arrow below the
Roofbutton and then clickRoof by Footprint. - In the properties palette select the
Basic Roof Generic - 12"roof type and set theBase Offset from Levelto0' 0". - Click on the
Modify | Create Roof Footprinttab if it's not automatically selected. - Click on the
Boundary LineandLine ModeButtons as shown in the image below.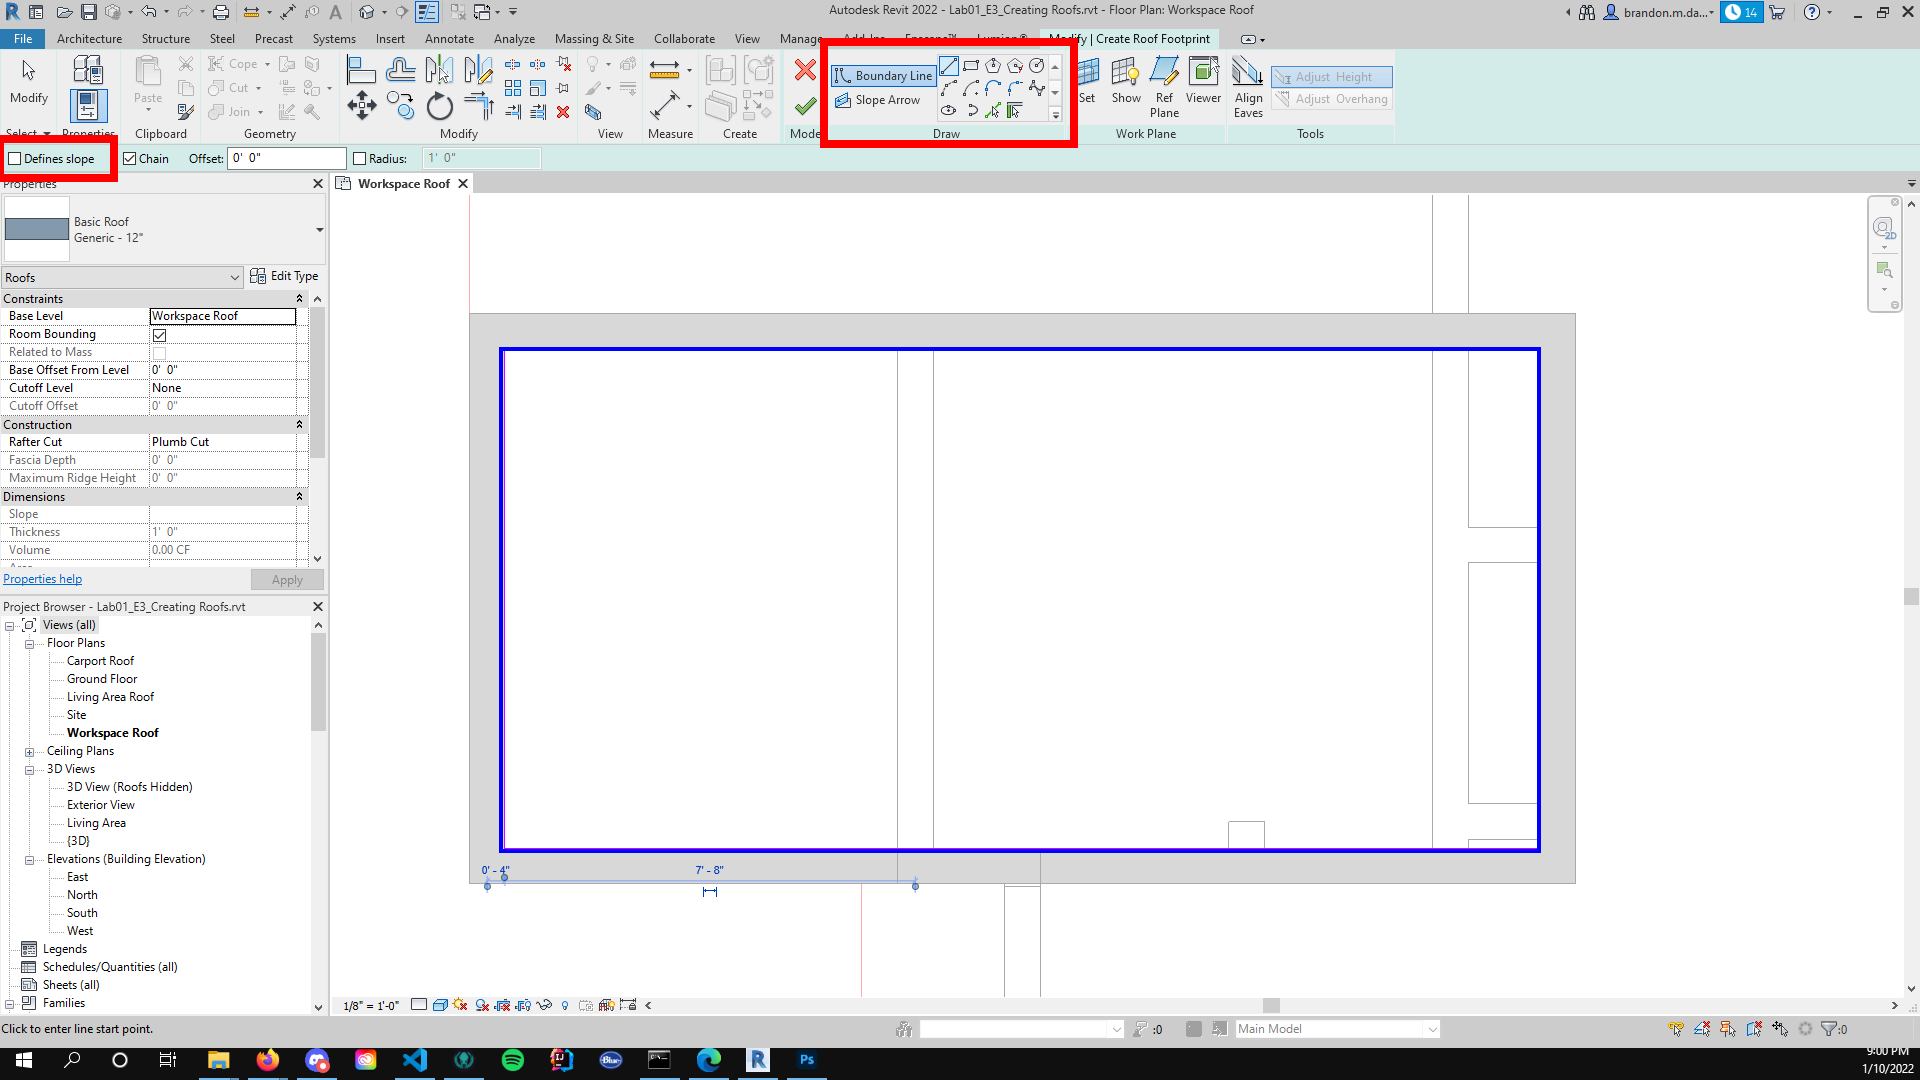
- Uncheck the
Defines Slopecheckbox. Highlighted in above screenshot. - Create a closed boundary along the inside of the walls as highlighted in the images above in blue.
- Click the green check mark button to confirm your boundary sketch.
- Open the
Carport Roofplan view. - Repeat the above steps to create a roof around the carport.
- Click the
Modifybutton on the left side of the Ribbon to end roof creation. - Select the wall shown and attach it to the carport roof with the
Attatch Top/Basebutton in the ribbon then by clicking on the carport roof.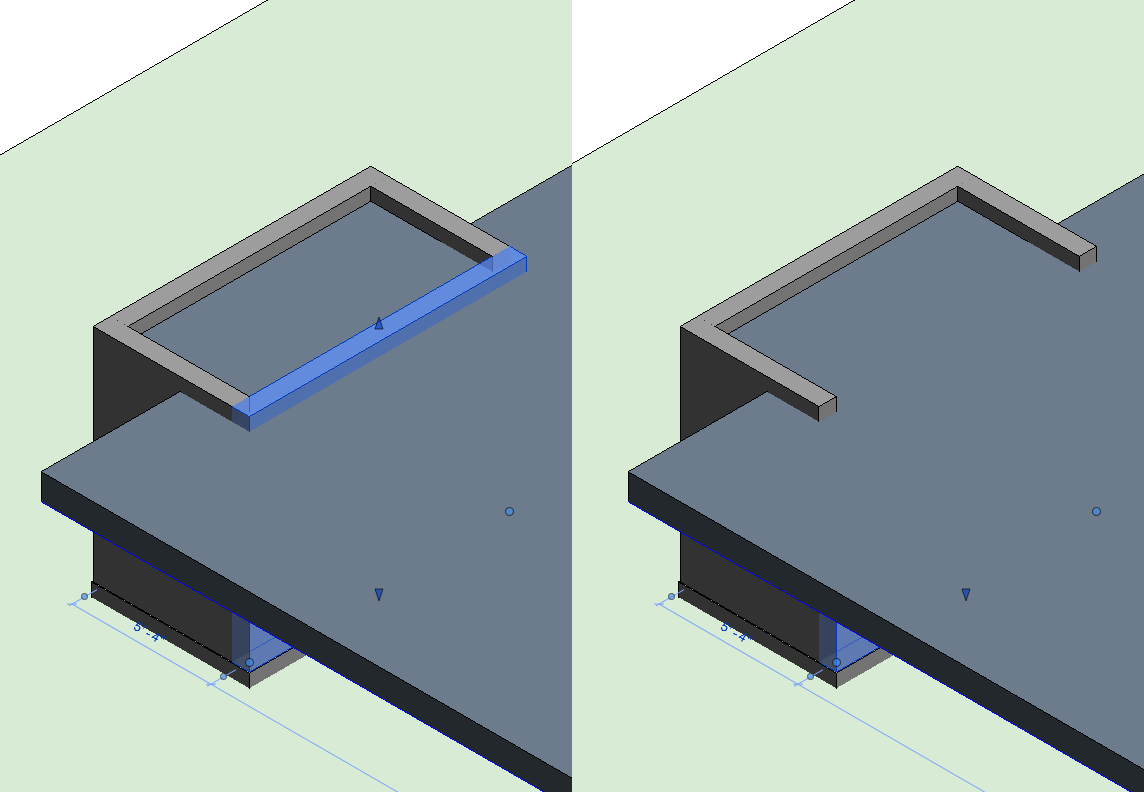
Create a Pitched Roof
- Open the
Living Area Roofplan view. - On the Architecture Tab click on the little arrow below the
Roofbutton and then clickRoof by Footprint. - In the properties palette select the
Basic Roof Generic - 12"roof type and set theBase Offset from Levelto0' 0". - Click on the
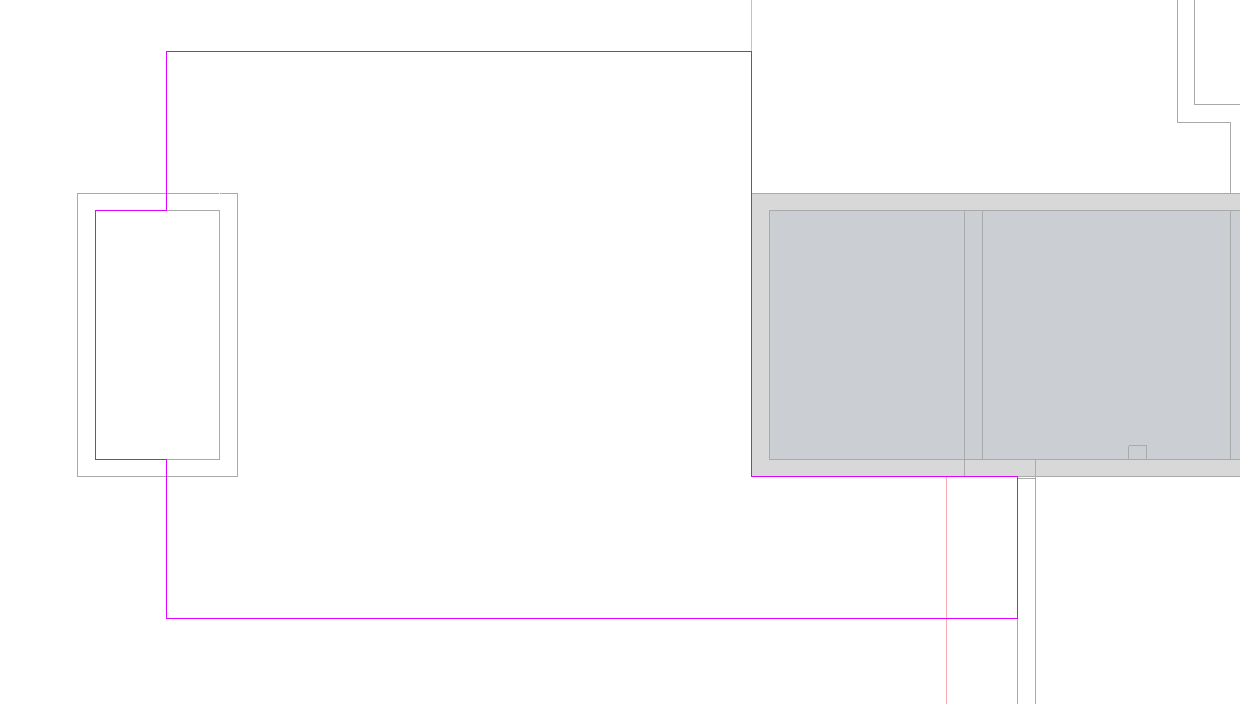
Modify | Create Roof Footprinttab if it's not automatically selected. - This time make sure that the
Defines Slopecheckbox is enabled. - Create a closed boundary along the inside of the walls as highlighted by the underlay in red.
- Confirm your boundary.
- If it asks to attach walls, click yes.
- Click
Modifyto quit roof edit mode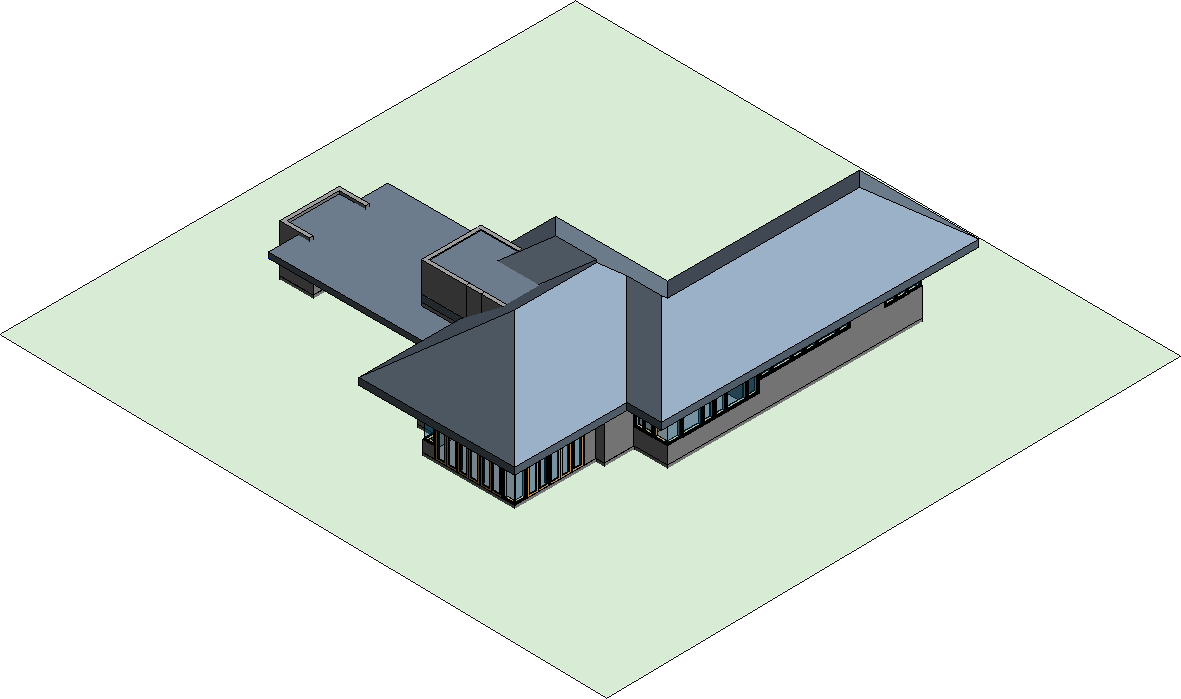
Save your file
Save your file as Spring2024_3262_firstinitial_lastname_LAB01_EX03.rvt