Efficiently Managing Wall Openings
Files you'll need to complete this Lesson
In this lesson you will place windows and doors and change their locations with temporary dimensions. You will also learn to quickly place groups of regularly spaced windows. Learn the Group and Associate array option. Edit Door and Window Instance properties and create new ones. You will also learn how to create empty wall openings.
Getting Started
Make sure you have the source files downloaded for this exercise. You can get them with the links above.
Place and Array Exterior Doors.
- Open Revit file:
Lab02_E2_Adding doors windows openings.rvt. - Open the
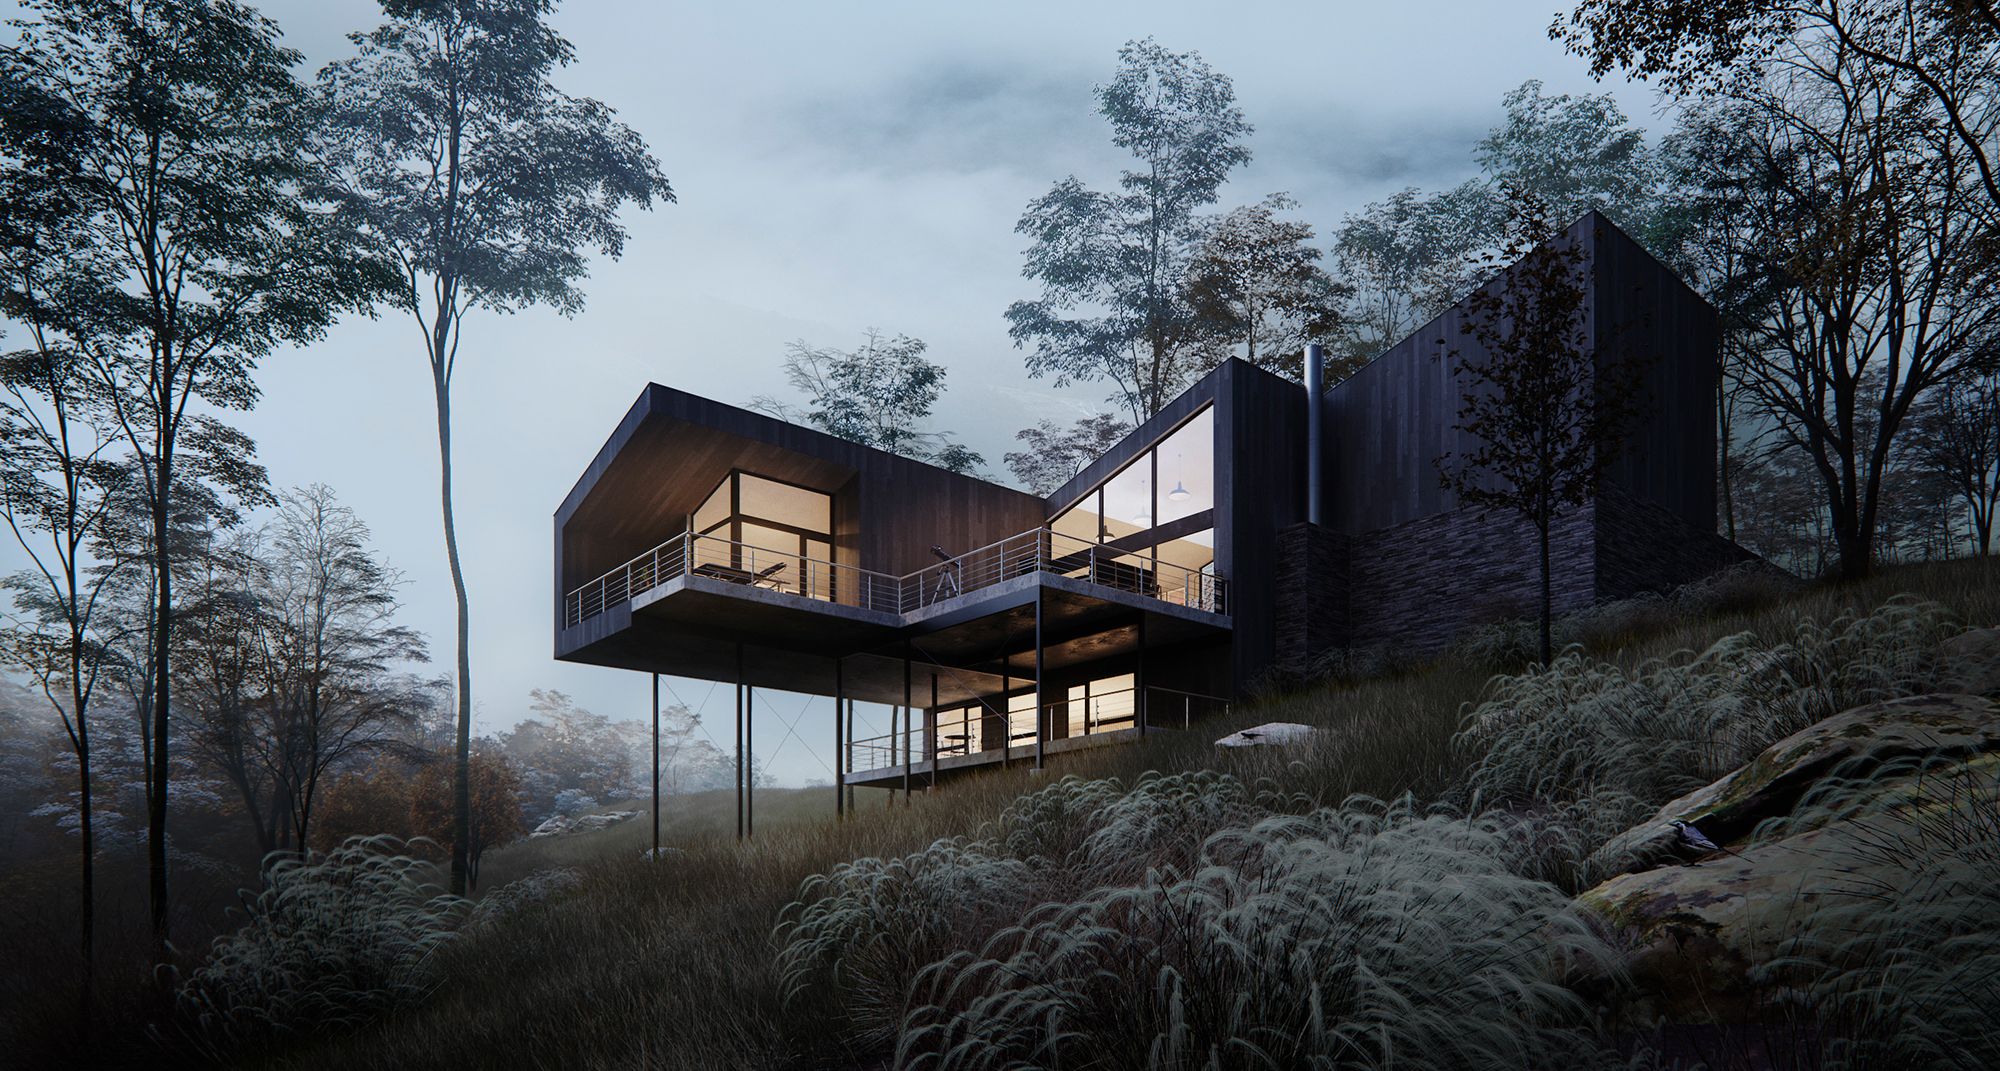
Floor - Living Areaplan view. - One the View Control toolbar, set the visual style to
Wireframe. This is located at the bottom left of the viewport.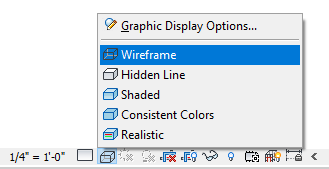
- On the Architecture tab click on the
Doorbutton on the ribbon. - In the Properties Palette, select the
Double-Glass 48" x 108"door type. - Place an instance of this door at the highlighted location.

It's much easier to see the reference point lines if you are in "Thin Line" mode like I am in the screenshot above.
- Hit the ESC key twice to exit the door placement command.
- Click on the door you just placed, then click on the array tool on the
Modify | Doorstab on the ribbon. - Set the
Numberto 3
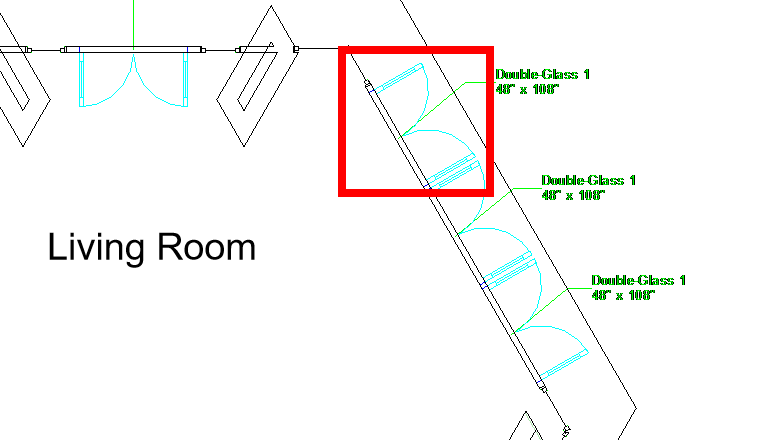
- Set the array distance graphically on screen by clicking two points on the wall like the image below.
- Press the enter key to accept the array
- Hit the ESC key twice to exit the array command.
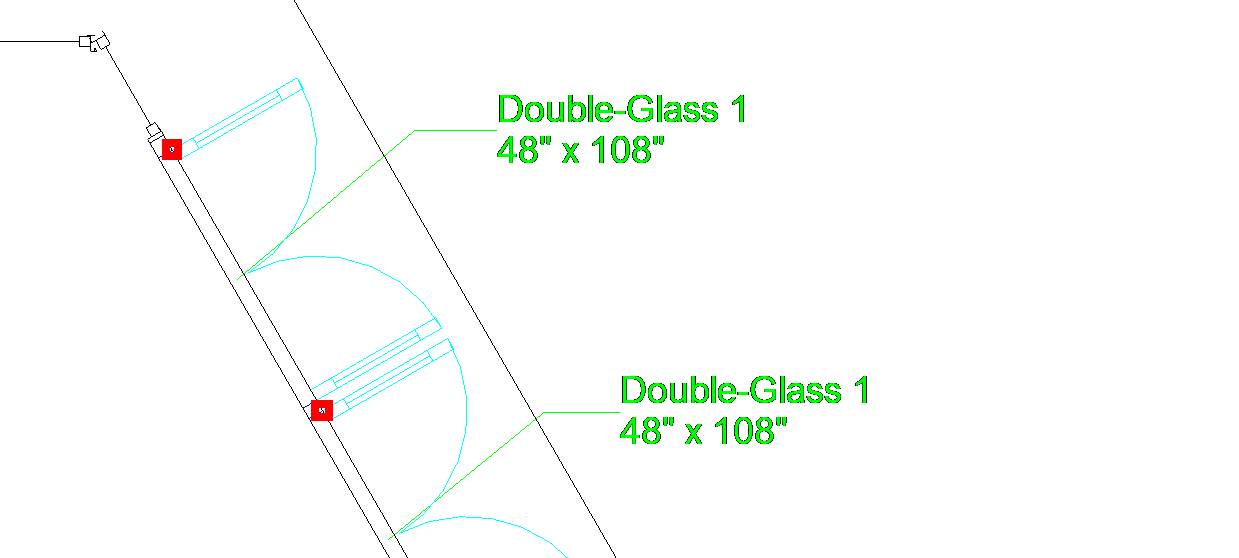
- Open the
{3D}3D view and verify that your doors are inserted correctly as shown below.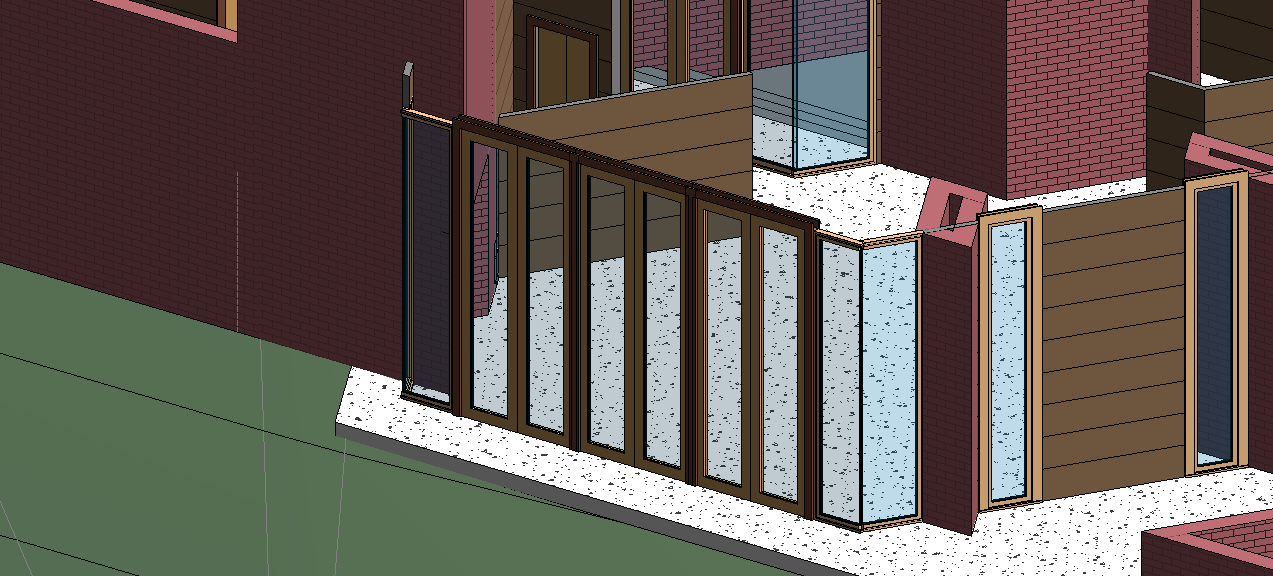
Place and Array Exterior Windows
- Open the
Floor - Living Areaplan view. - On the Architecture tab click the
Windowbutton. - Select the
Casement Dbl with Trim 48" x 72"window type in the Properties Palette - Place a window of that type at the highlighted location below. Make sure the window is facing the right direction by hovering your mouse near the outside edge of the wall.
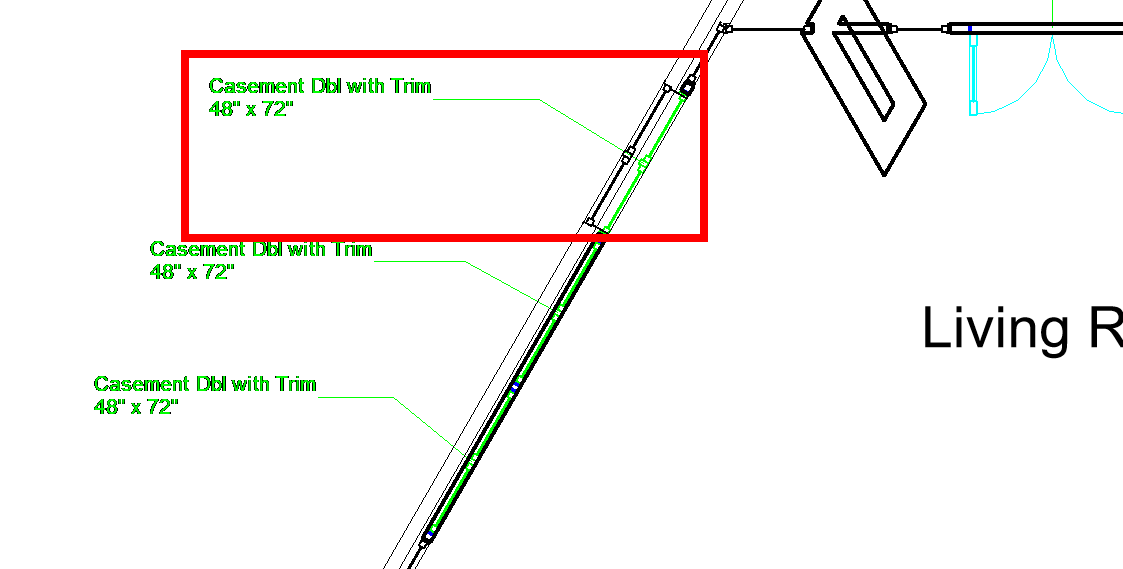
- Hit the ESC key twice to exit the window command.
- Array the window to create the remaining 2 in that wall like we did with the doors. (Click on the window, click on the array command, set the number to 3, select a base point, select a second point to set the distance between windows, press enter to confirm the window placement)
Tip: It's easier to get your base points right when you choose points that are easy to see between two locations, like the left side of both windows.
- Open the
{3D}3D view and verify that your windows are inserted correctly as shown below.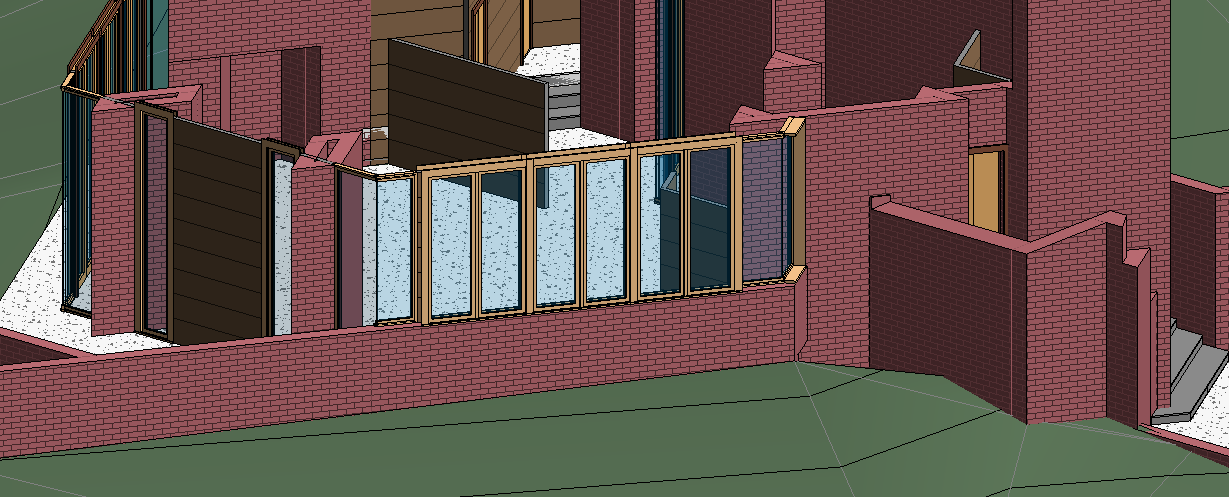
Save your file
Save your file as Spring2024_3262_firstinitial_lastname_LAB02_EX02.rvt