Creating Roof Shapes
Files you'll need to complete this Lesson
In this lesson you will create two hip roofs and join them for the house used in the previous exercise. You will also learn how to fine tune the roof footprint and properties to create various roof shapes and forms. You will also create a custom roof form by extruding a surface from a sketched profile.
Getting Started
Make sure you have the source files downloaded for this exercise. You can get them with the links above.
Create a Hip Roof Over Living Area
- Open Revit file:
Lab02_E3_Creating roof shapes.rvt - Open the
Roof-Living & Bedroomsplan view. - On the Architecture tab click on the little down arrow under the
Roofbutton to select theRoof by Footprintoption. - On the Properties Palette select the
Basic Roof Generic - 12"roof type and setBase Offset from Levelto0' 0". - Use the
Boundary LineandLinetools with theDefines Slopecheckbox checked to create a closed roof boundary as indicated bny the red triangle on the underlay. - In the Properties Palette set the roof slope to
3" / 12"and clickApply - Click on the green checkmark to confirm the roof shape and choose
Yesto the "Attach highlighted walls to roof?"" popup.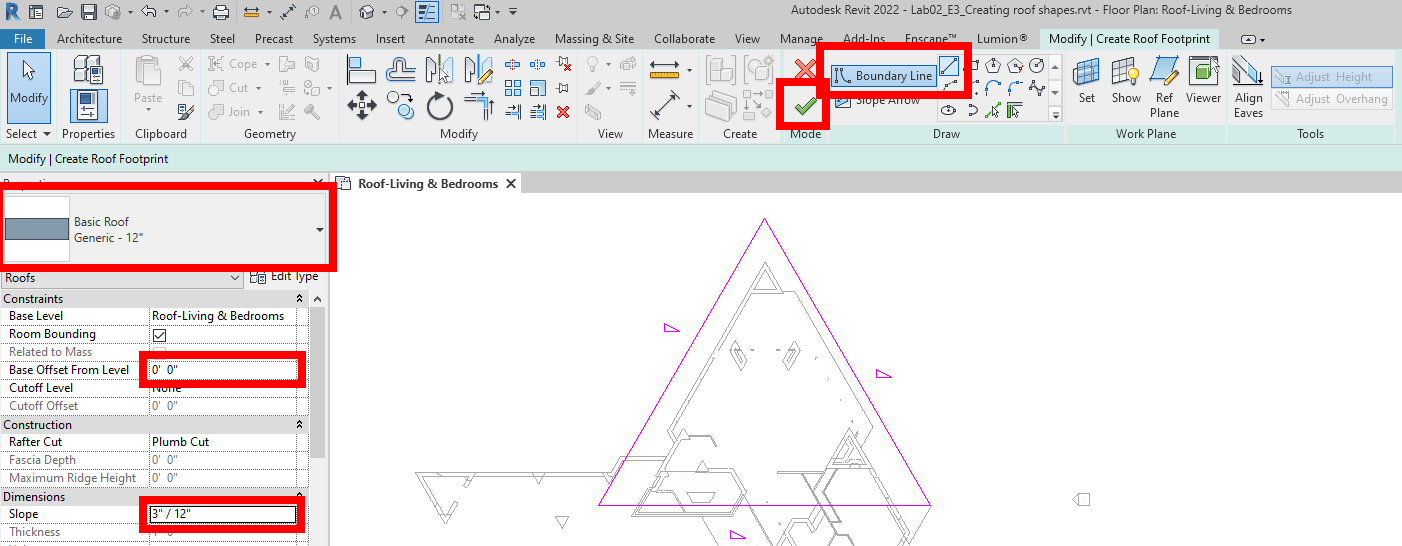
- Open the
{3D}3D view to verify your roof looks like this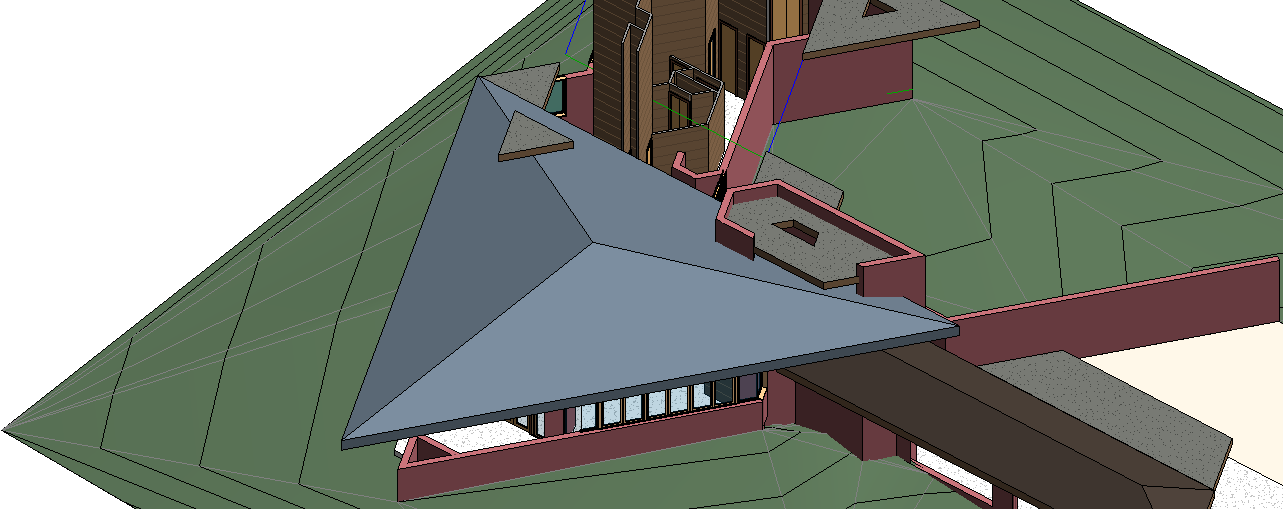
Create a Hip Roof Over Bedroom Area
In this section we will be creating a roof boundary with some edges sloping and one not sloping. Looking at the underlay you can see that there are 3 blue lines and 1 green line forming the boundary around the bedroom roof. You can either draw 3 of the lines with the Defines Slope box checked and then uncheck it for the green one or draw it like we did in the previous steps and then uncheck it after. Lets do it the latter way.
- Open the
Roof-Living & Bedroomsplan view. - Repeat steps
3through7for the bedroom roof. Note which of the underlay lines was green. - Open the
{3D}3D view to verify your roof looks like this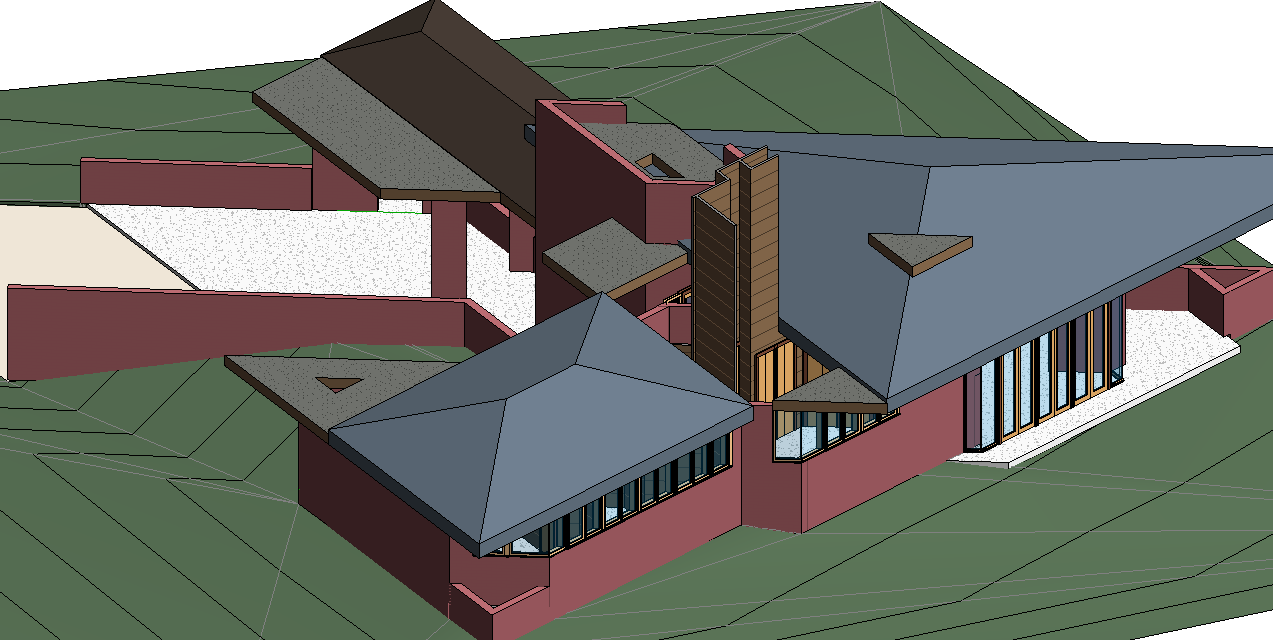
- Click on the roof in the 3D view and then click on the
Edit Footprintbutton on the ribbon. - Click on the boundary line that is where the green underlay line was and uncheck the
Defines Slopecheckbox under the ribbon. - Click on the green checkmark to confirm the roof. It should look like the image below.
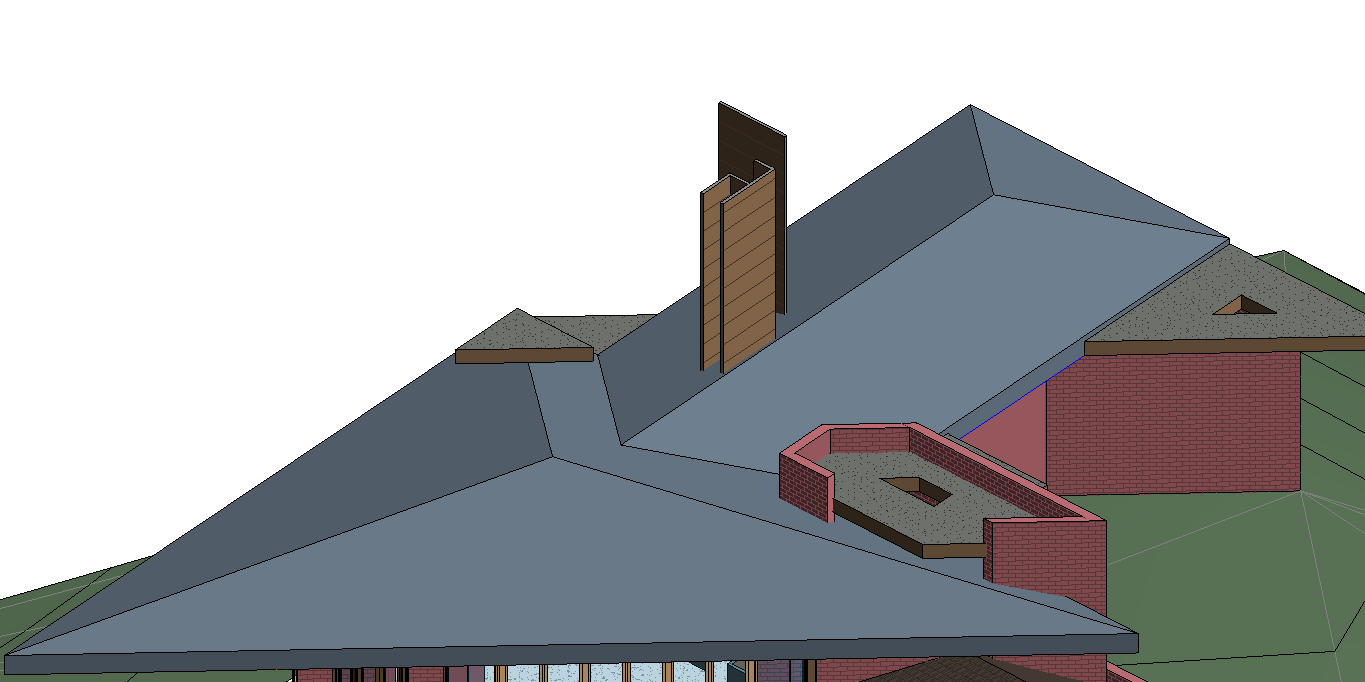
Join the two roofs together.
- Open the
{3D}3D view and orbit your camera around to look at your two roofs like this.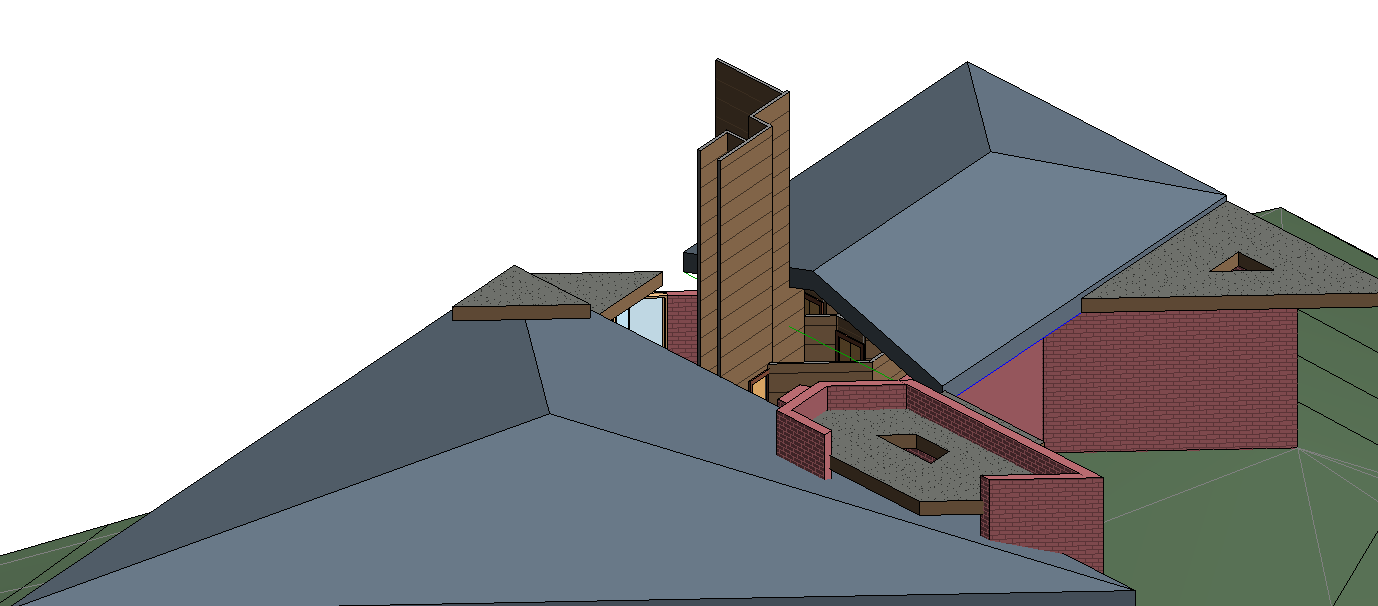
- Select the bedroom roof and on the
Modify | Roofstab click on the Join / Unjoin Roof tool on the ribbon.
- Click on one of the gable edges of the bedroom roof as shown below.
- Click on the face of the living area roof that faces the bedroom roof as highlighted below.
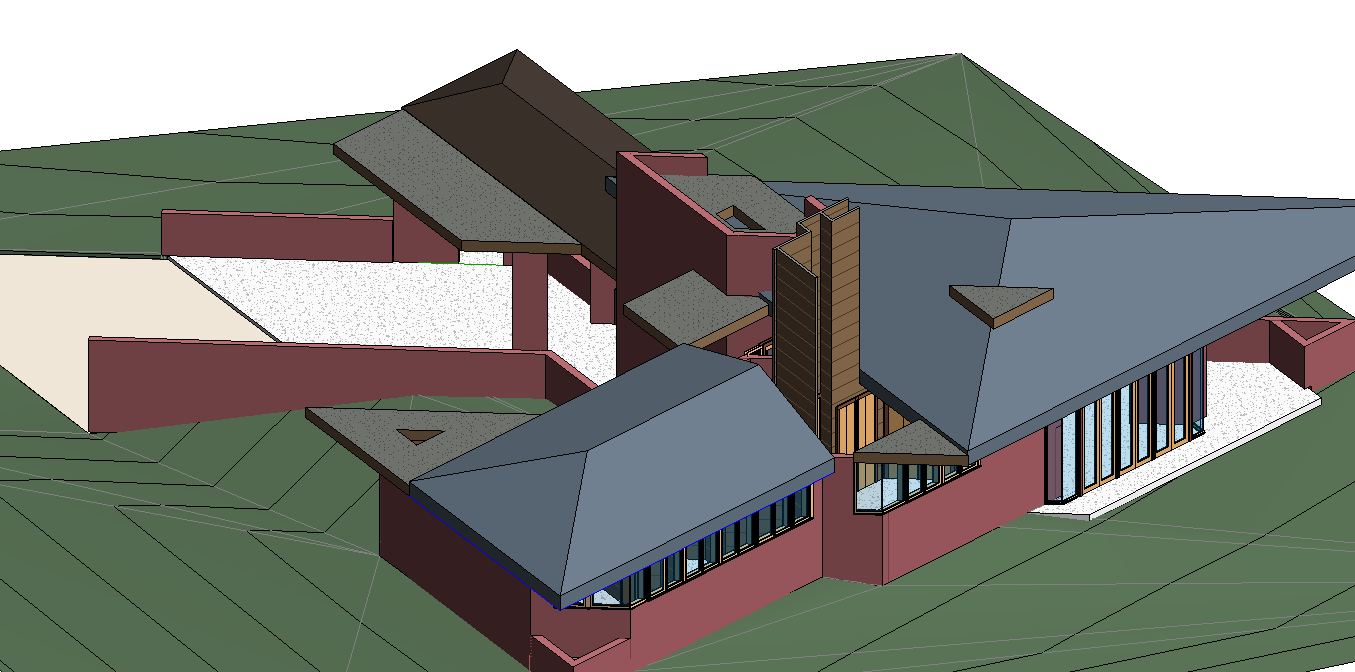
- Verify the result looks like below
Cleanup the Model
- Click on the Roof Piece that is floating and delete it with the
Delkey.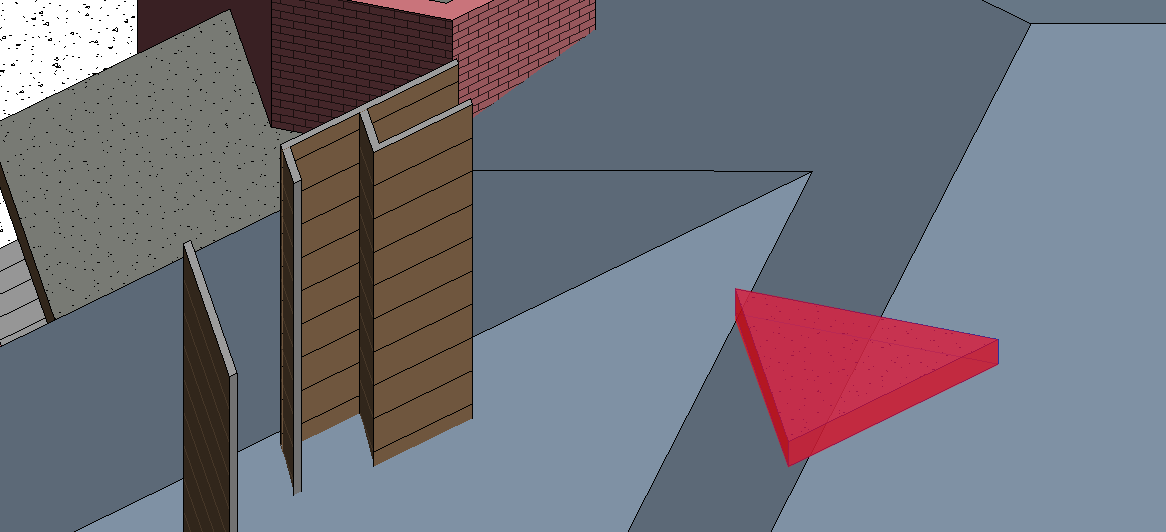
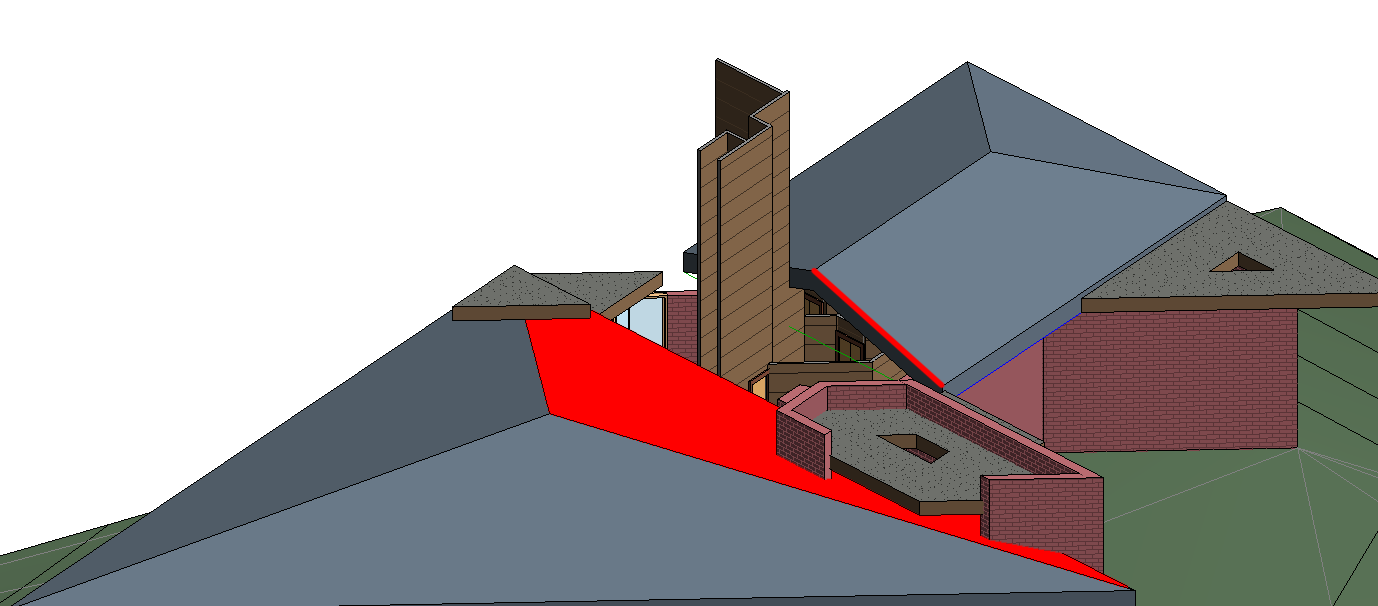
- Select the walls that extend past the roof line. (Remember you can use the
Ctrlkey to do this)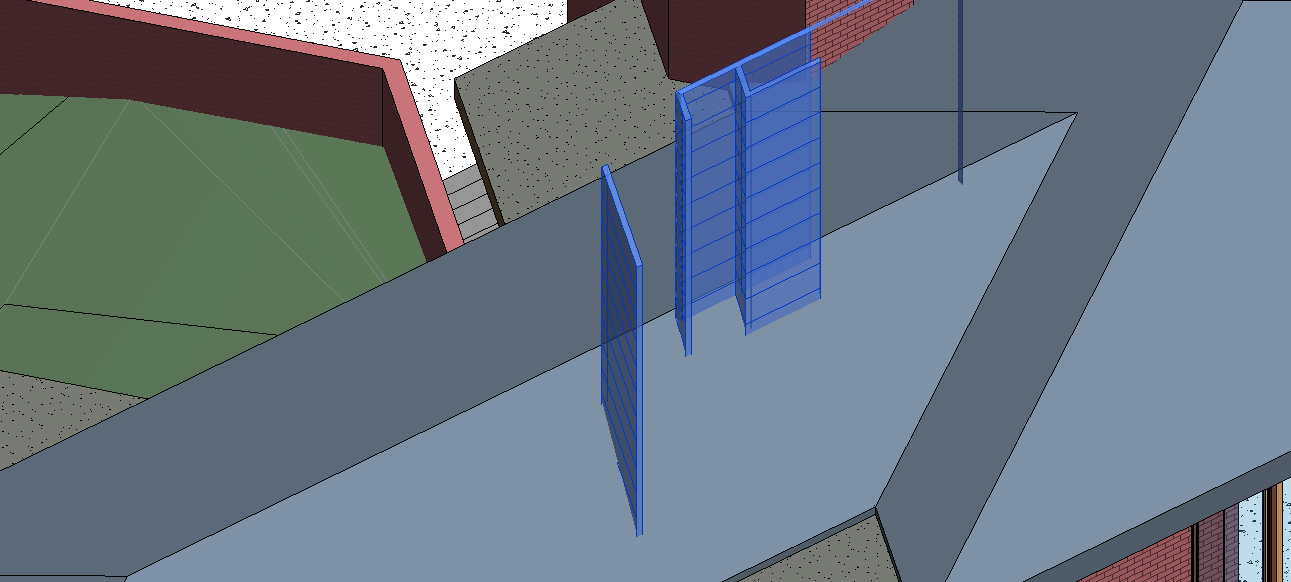
- Click on the
Attach Top/Basebutton on the Ribbon. - Click on the Bedroom Roof to attach the walls.
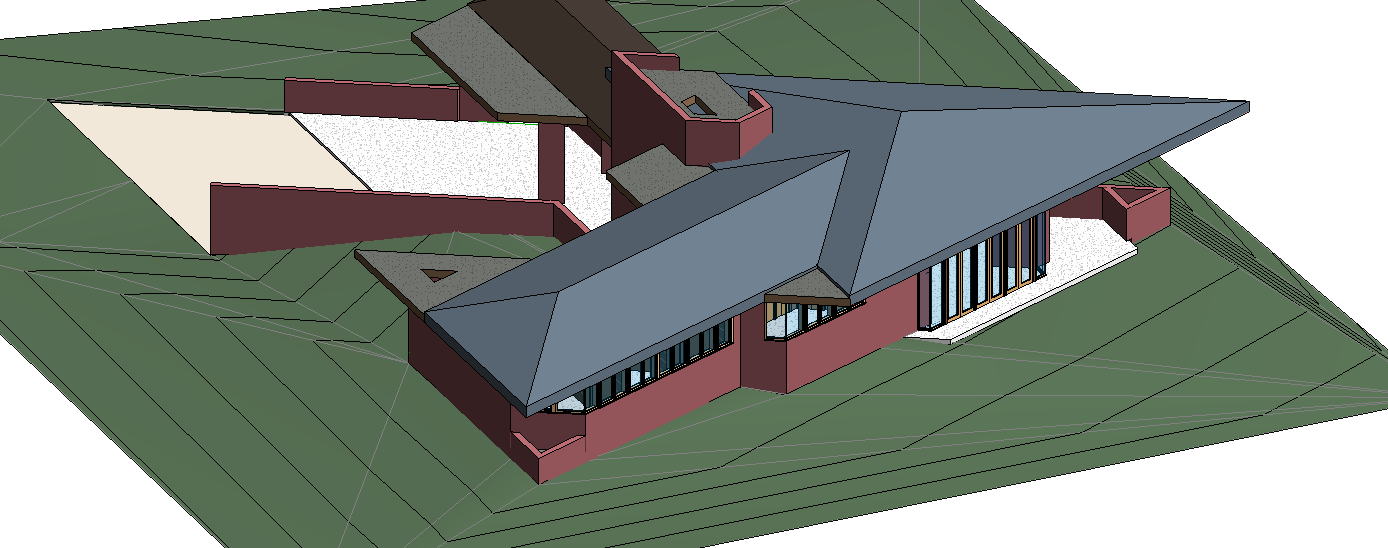
- Verify your completed roof looks like below.
Save your file
Save your file as Spring2024_3262_firstinitial_lastname_LAB02_EX03.rvt