
Creating Curtain Walls
Files you'll need to complete this Lesson
Learn how to substitute an opaque wall with a curtain wall and define the grid layout through parametric Rules.
Getting Started
Make sure you have the source files downloaded for this exercise. You can get them with the links above.
Create a new Curtain Wall
- Open Revit file:
Lab03_E1_Creating curtain walls.rvt. - Open the
First Floorplan view. - Select the wall that is indicated to be changed.
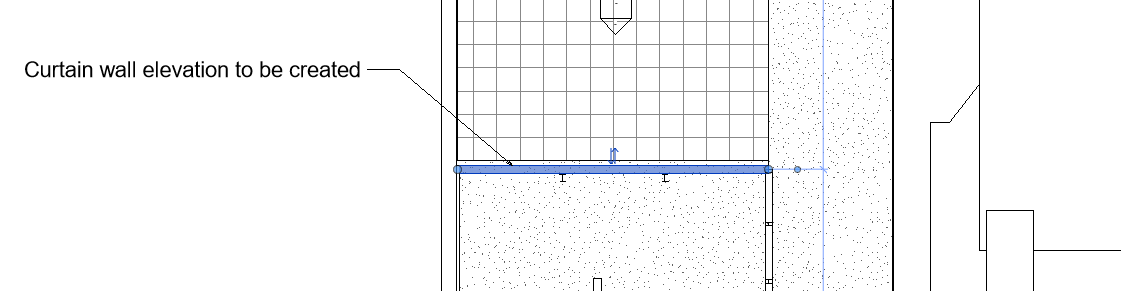
- In Properties Palette select the
Curtain Wall 2type.
Note: Curtain Wall 2 creates a single pane of glass for the curtain wall instead of creating any automatic mullion geometry
- In Properties Palette click the
Edit Typebutton. - In the
Type Propertiesdialog box clickDuplicate... - Rename the new Curtain Wall to
Residence North Walland clickOK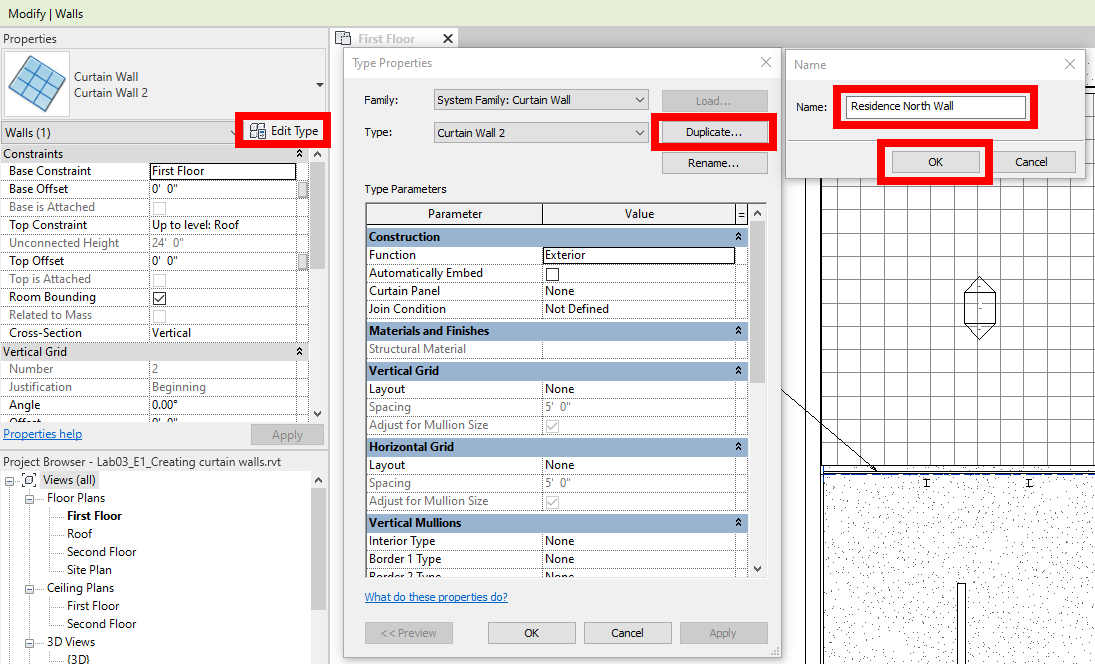
- Set the type property
LayouttoFixed Numberfor both Vertical Grid and Horizontal Grid. This exposes a number to the properties palette.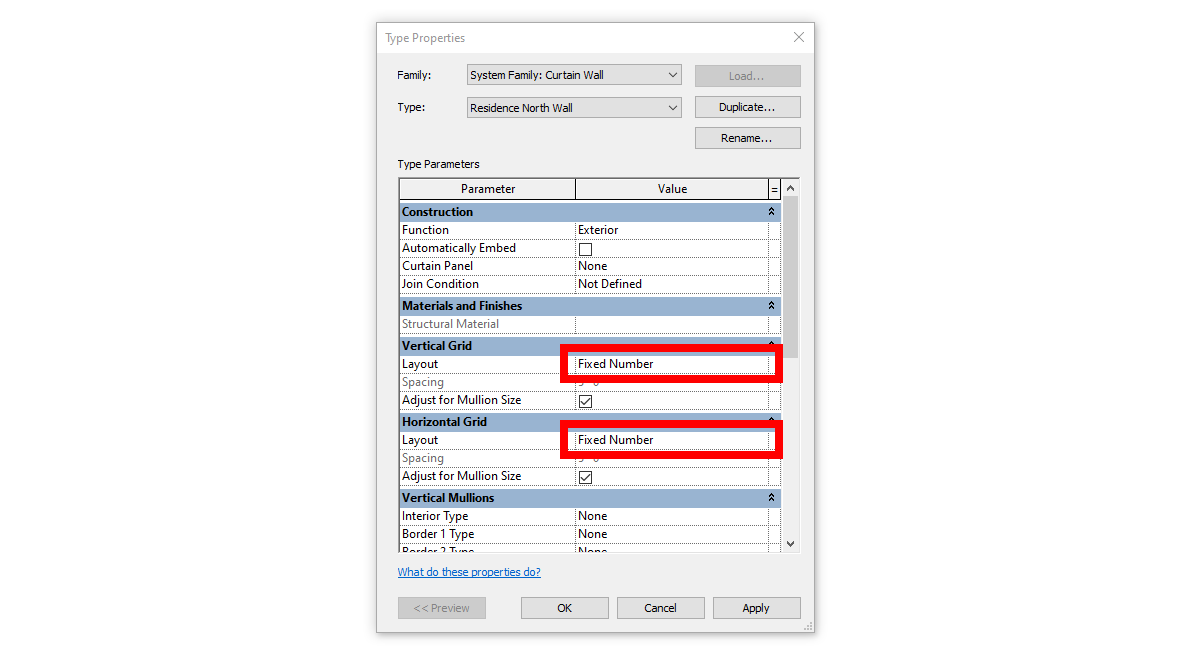
- In the properties palette set the grid properties as shown
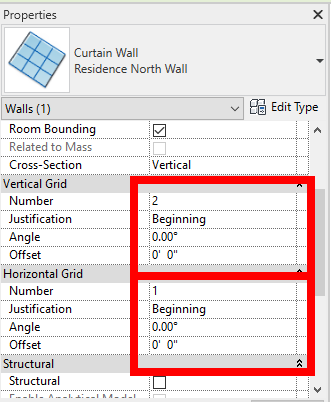
- Click
Apply - Hit
ESCtwice to exit the modify command. - Open the
North-Residenceelevation view and confirm your curtain wall looks like shown below: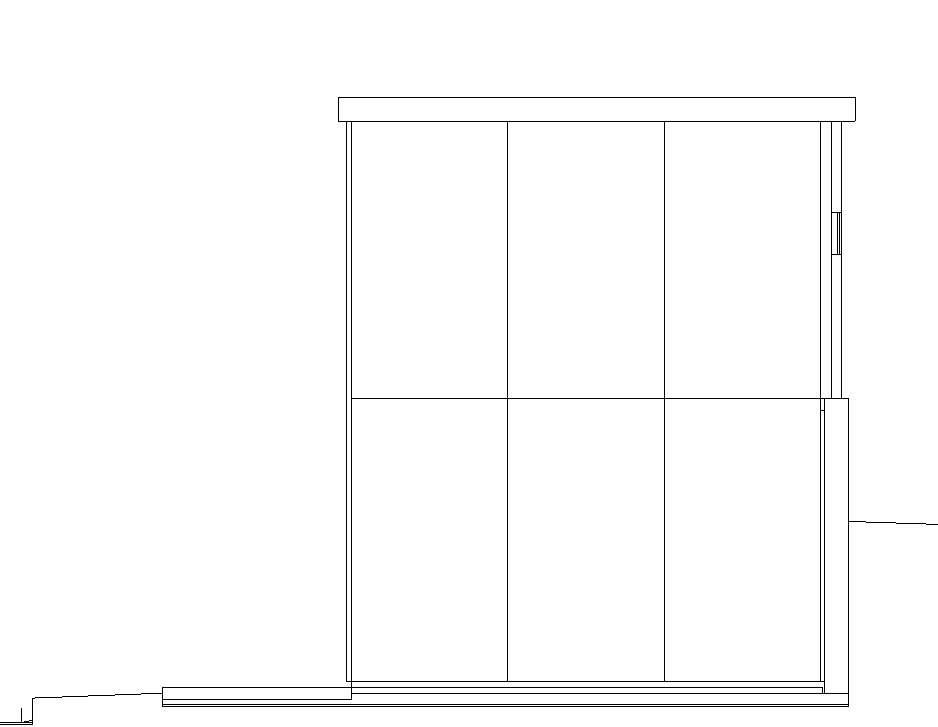
Save your file
Save your file as Spring2024_3262_firstinitial_lastname_LAB03_EX01.rvt