Adjusting Grid Lines
Files you'll need to complete this Lesson
In this lesson learn how to add new grid lines to existing curtain walls and edit existing grid lines and segments. Learn how to pin and unpin elements to prevent or allow changes to the layout
Getting Started
Make sure you have the source files downloaded for this exercise. You can get them with the links above.
Modify North Residence Curtain Wall
- Open Revit file:
Lab03_E2_Adjusting grid lines.rvt - Open
North Residenceelevation view. - Our goal is to make the following layout from the current. See before/after below.
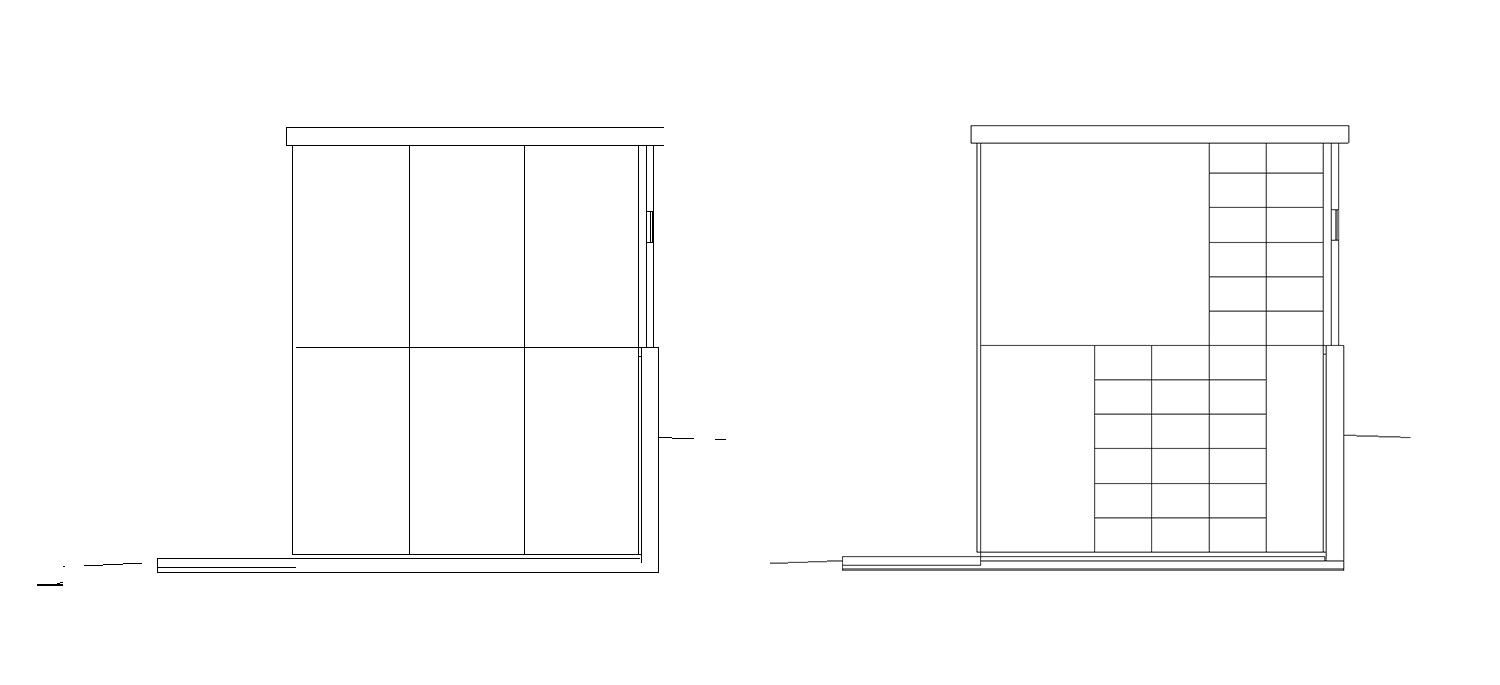
- Select one of the grid lines. If you are having a hard time clicking on that grid line press the tab key until the line you want is highlighted.
- Click on the
Add/Remove Segmentsbutton in the ribbon.
- Remove the grid segment required to get this result by clicking on it:
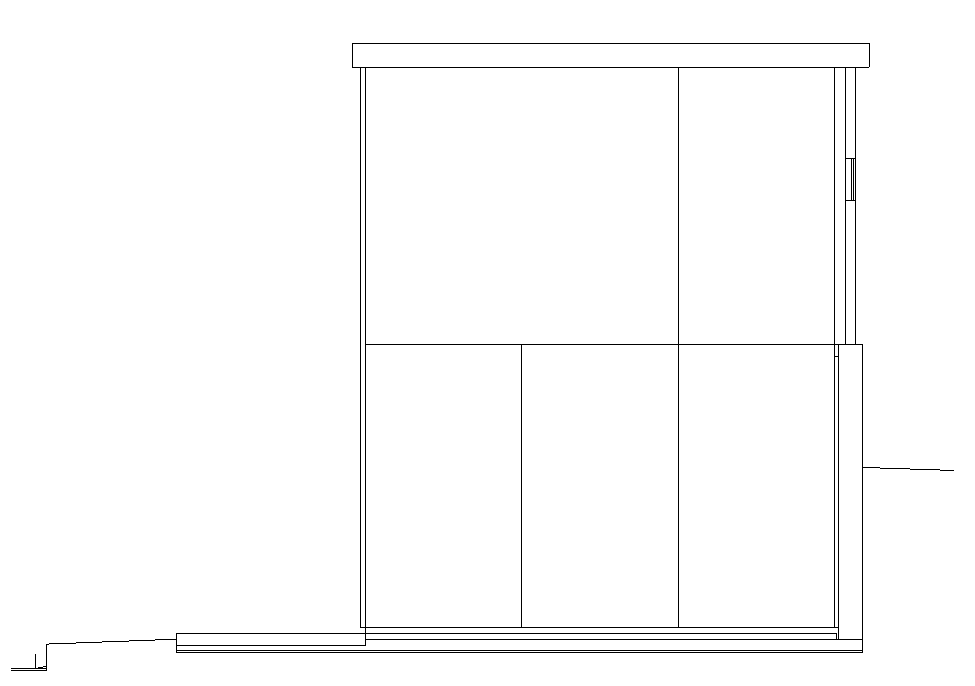
- Add a full length segment by clicking on the
Curtain Gridbutton on the architecture tab.
- Click on the
All Segmentsbutton.
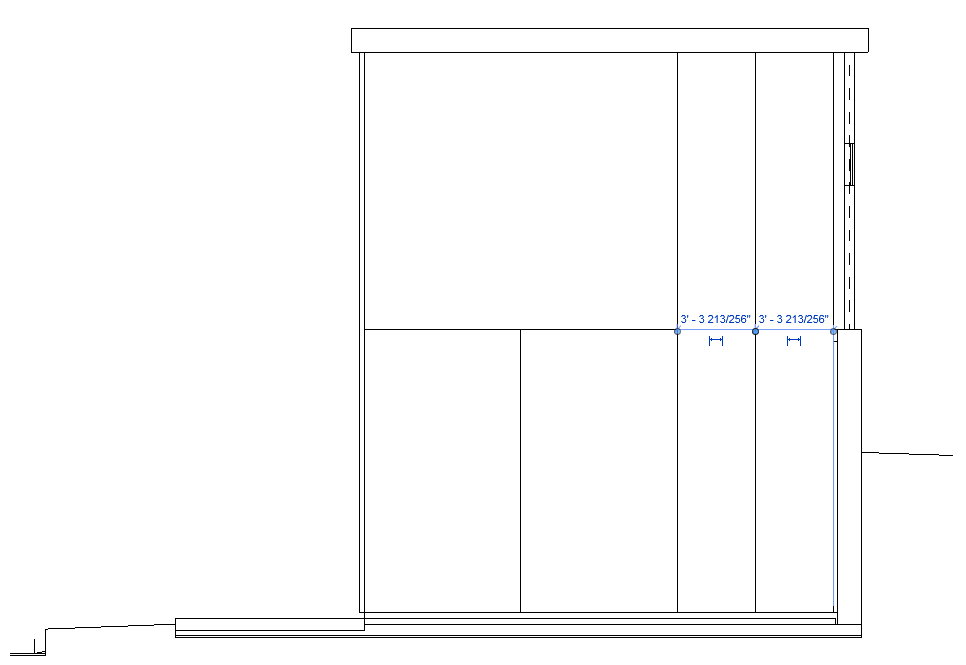
- Use midpoint snapping to get the following result:
- Select the
All Except Pickedoption for grid line placement on the Ribbon
- Add a horizontal grid line in the center of the section highlighted below by clicking near the middle
- Then click on the areas that we don't want grid lines in as shown below, they will then show as dotted.
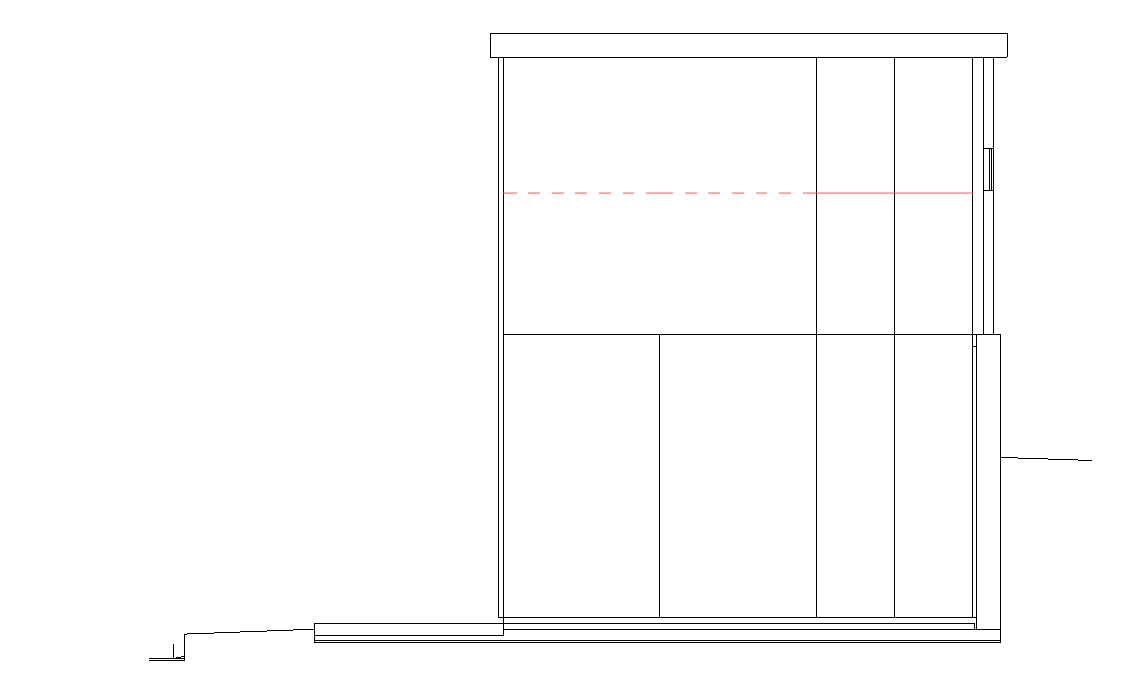
- Press enter to confirm
- Repeat process using the same strategy until your grid system looks like this:
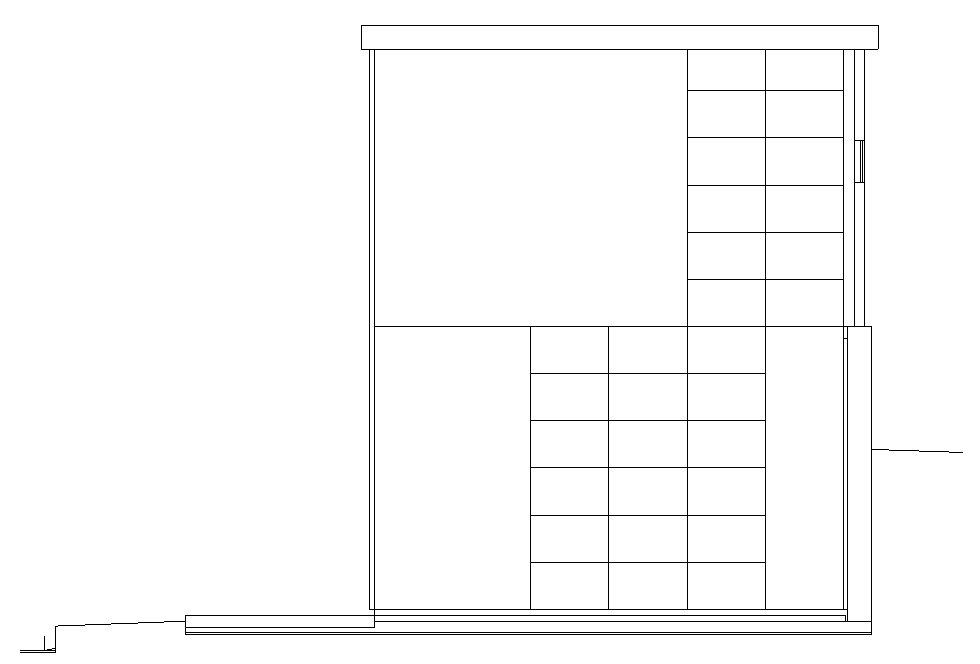
Add 3D Mullions to the Grid Lines
- On the architecture tab click the
Mullionbutton.
- Then click on the
All Grid Linesbutton.
- Place your cursor over any grid line on the curtain wall and left click with the mouse button to apply 3D mullions over the entire curtain wall

Save your file
Save your file as Spring2024_3262_firstinitial_lastname_LAB03_EX02.rvt


